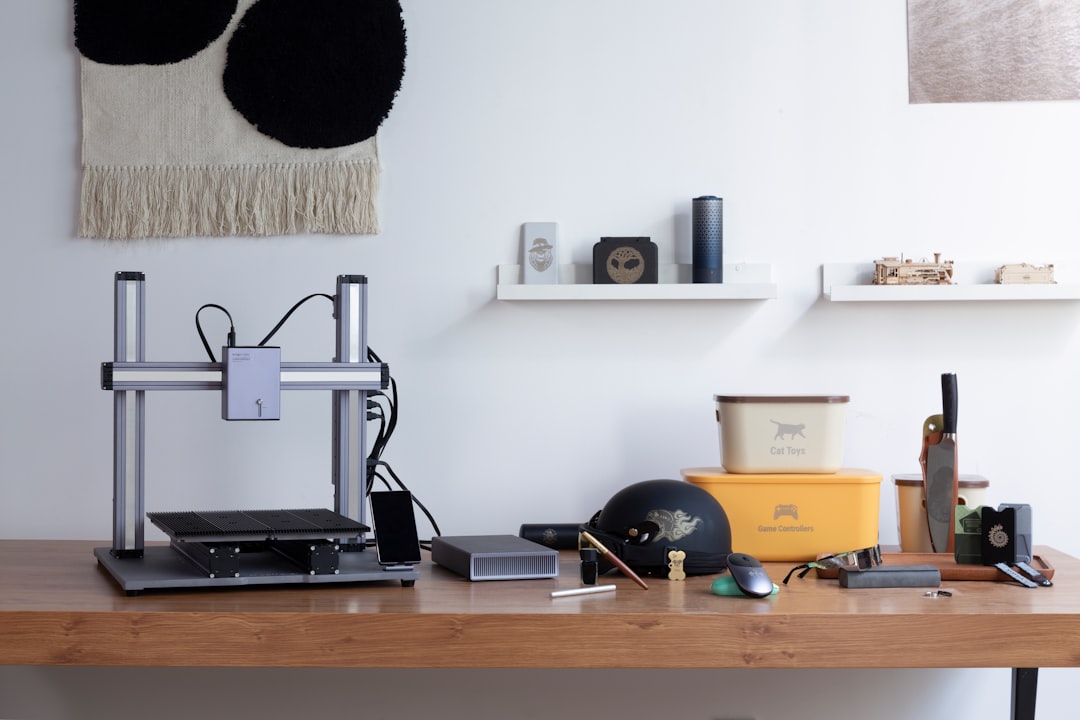
The laptop foot broke on a Tuesday. Not the laptop — just the tiny rubber foot on the bottom, the one that keeps the chassis tilted so the fan can breathe. A genuine replacement part does not exist. The manufacturer will happily sell me a $79 bottom chassis assembly with the feet molded in, but the foot itself? Unobtainable. My team found aftermarket feet in packs of fifty from three shipping locations, none the right height, all of them arriving sometime next month.
So I did what I’d been talking about doing for two years: I bought a 3D printer. Not a project, not a hobby kit — a $199 appliance that sits on the end of my work bench and manufactures small plastic parts on demand. Three months later, I’m comfortable saying it has quietly become the most practical piece of technology in this house, and I say that as someone with a closet full of review units that cost twenty times more.
This is not a printer review in the traditional sense. It’s an argument about repair math, and about why 2026 is genuinely the first year this argument works.
The Part Hunt Nobody Wins
Anyone who has tried to fix a gadget lately knows the pattern. The cable clip that holds your monitor’s routing channel snaps, and the manufacturer’s parts store offers the entire stand for $60. The drawer glide bracket on a desk breaks, and the answer is a whole new drawer. The battery door latch on a perfectly good camera vanishes into carpet, and the official repair path is a service center that quotes more than the camera is worth.
The industry even has a term for the antidote — right to repair — and it’s slowly winning. Philips now lets customers 3D print official replacement parts, iFixit has been cataloging printable spares for years, and repair legislation keeps advancing through statehouses. But you don’t need a law to solve the rubber-foot problem. You need thirty grams of plastic and a machine that turns a file into an object.
That’s the reframe that clicked for me. In a year when RAMageddon has made every new gadget suspiciously expensive and keeping old hardware alive is the bargain move, a printer that manufactures unobtainium parts isn’t a toy. It’s infrastructure.
Why 2026 Was Finally the Year
I’ve watched desktop 3D printing since the hobbyist era, and I always had the same objection: the hobby was the printer, not the things you made. Early machines wanted you to level the bed with a sheet of paper, babysit the first layer, and accept a 30 percent failure rate as part of the experience. That’s a fun weekend if you like tinkering. I like finished parts.
The current crop of entry machines killed every one of those objections. Auto bed-leveling and automatic flow calibration happen at the start of every print. The machine handles its own maintenance routine. Print speeds that used to mean an overnight wait now finish in an hour or two. Reviewers I’ve trusted for a decade — Wirecutter, PCMag — have converged on the same conclusion this year: the small Bambu machines are the fastest, easiest printers that also fit on a desk, and they outperform machines that cost triple a few years ago.
I went with the A1 mini with the LED lamp kit, mostly because I wanted the light for monitoring long prints on camera. Setup took twenty minutes, and that included unboxing. The first print — a cable clip — started from the phone app while I ate dinner. That’s the entire point I’m making here: it worked, first try, on day one.
Three Months on the Desk: How It Actually Went
The A1 mini builds inside a 180-millimeter cube, which sounds limiting until you measure the plastic parts around you. Almost everything that breaks is smaller than a coffee mug. It prints at up to 500 millimeters per second — real-world useful speeds are lower, but a clip still finishes in twenty minutes — and at around 48 dB it’s quieter than the desktop it sits next to. It hums; it does not shriek.
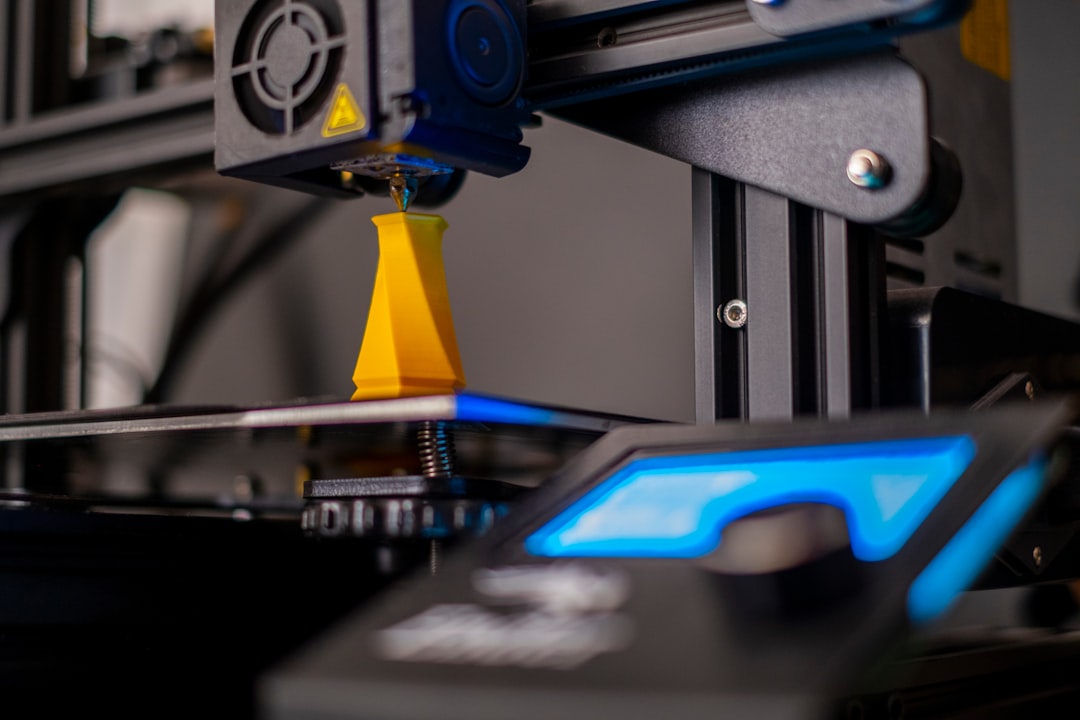
Reliability has been the headline. In roughly ninety days of use, my team and I have run dozens of prints — clips, mounts, brackets, stands, enclosures — and the failure count sits at three. Two were my fault (a model with a bad overhang, a spool that ran dry mid-print), and one was a first-layer hiccup that the machine caught itself and flagged on the app. The printer, like the best technology I test, is almost boringly dependable. That is the highest compliment I can pay hardware.
The ecosystem deserves real credit too. The companion model library is enormous — millions of community-shared designs — and searching “laptop foot” returns dozens of options sorted by what other people have successfully printed. You are not designing parts from scratch any more than you’re writing your own operating system. Somebody already solved your problem; you’re just downloading the solution.
What Actually Came Off the Print Bed
Here’s the three-month inventory, because this is where the concept either proves itself or doesn’t. A set of strain-relief cable clips that route the mess behind my monitor arm. A wall mount for the label maker that transformed my cable and storage organization last year — it had been living in a drawer, which meant it never got used. A custom-sized stand that lifts my Qi2 charging dock to a better viewing angle. Replacement drawer dividers. Two camera-thread adapters. And yes, the laptop foot — measured, modeled in a free CAD tool in fifteen minutes, and printed in a flexible material that grips better than the original ever did.
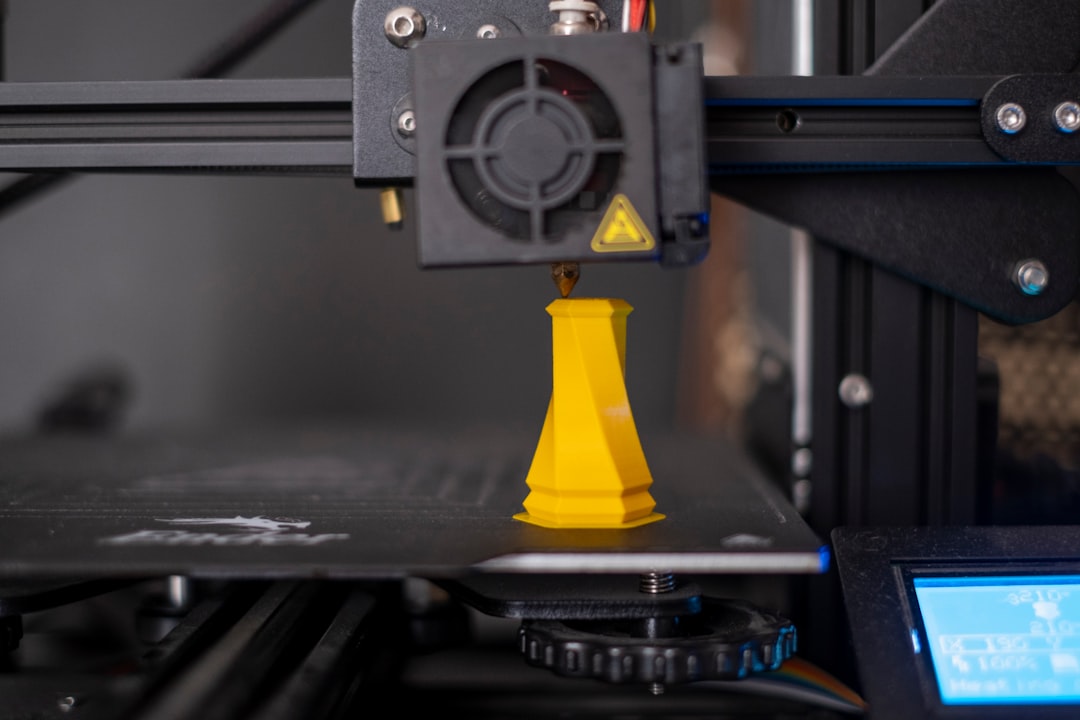
The pattern across all of it: these are the purchases you can’t make. Nobody sells a label maker wall mount for a specific niche of desk. Nobody stocks drawer dividers in the exact 41-millimeter width your desk’s accessory tray needs. The market for hyper-specific plastic is zero, which is precisely why printing it yourself wins by default.
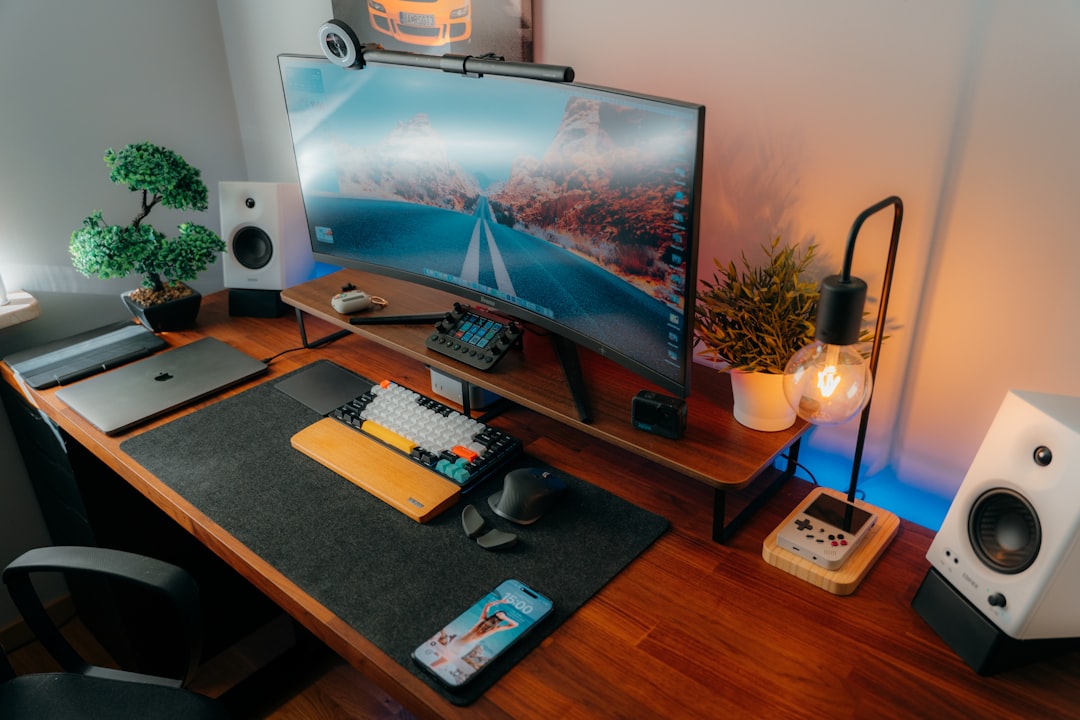
It also slots into the desk-gadget ecosystem in a way I didn’t expect. Half of the sub-$25 desk upgrades I’ve tested over the years would be improved by a printed bracket, a spacer, or a mount. The printer doesn’t replace that gear; it completes it. When a gadget is almost right, you used to live with “almost.” Now almost is a fifteen-minute fix.
The Measuring Minute That Replaces the Parts Order
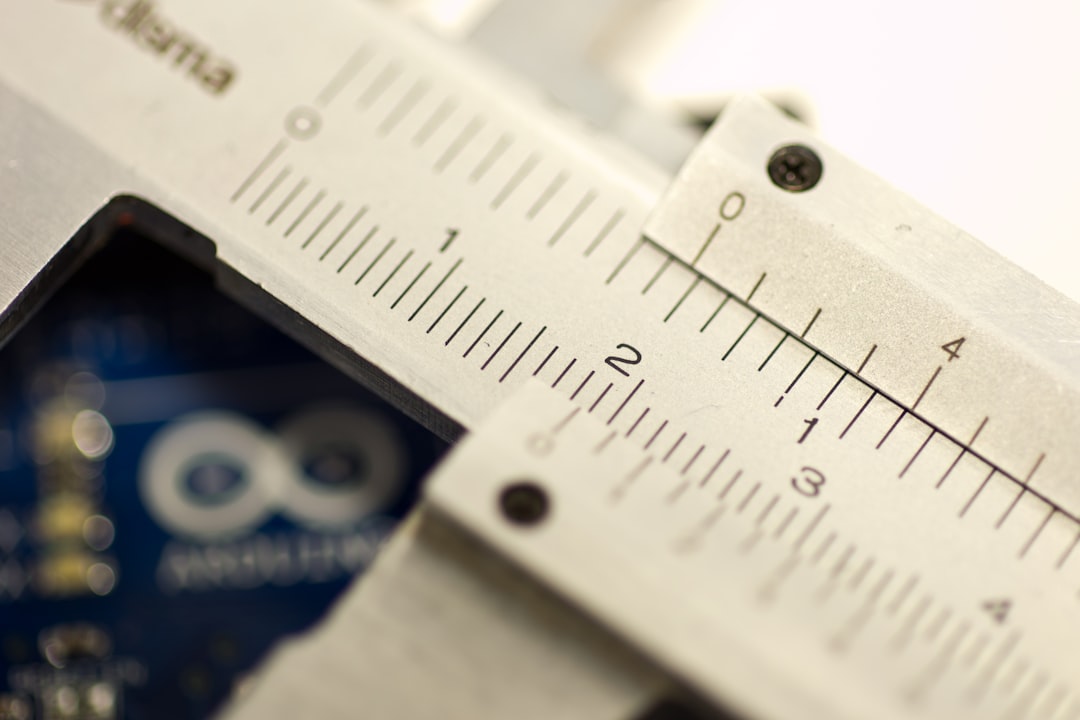
The actual skill gap for repair printing is smaller than people fear, and it lives almost entirely in measurement. You need to know how wide the broken clip’s channel is, how tall the foot was, where the screw holes sit. For that, a pair of stainless digital calipers is the real must-have accessory — more important than any printer upgrade. Measure to the tenth of a millimeter, mirror the numbers into an existing model or a quick sketch, and the printer handles the rest.
The other half of the workflow is cleanup. Printed parts come off the bed with small imperfections — stringing, a rough edge where the print started. A basic finishing kit handles all of it: deburring blades, needle files, nozzles for detail cleanup. I use this 68-piece finishing and maintenance kit more than I expected, and it doubles as the maintenance toolbox for the printer itself.
Total time from broken part to installed part, for something simple: about an hour, most of it unattended. Compare that to the parts-order path — searching, waiting on shipping, discovering the aftermarket part is 2 millimeters off — and it’s not close.
The Filament Math That Makes the Case
Here’s the part that convinced my accountant brain. A one-kilogram spool of PLA — the standard workhorse plastic — costs roughly $13 to $20 and contains enough material for hundreds of small parts. That laptop foot used about four grams. The cable clips, maybe two grams each. Even with waste, the consumable cost per repair part lands between five and fifteen cents.
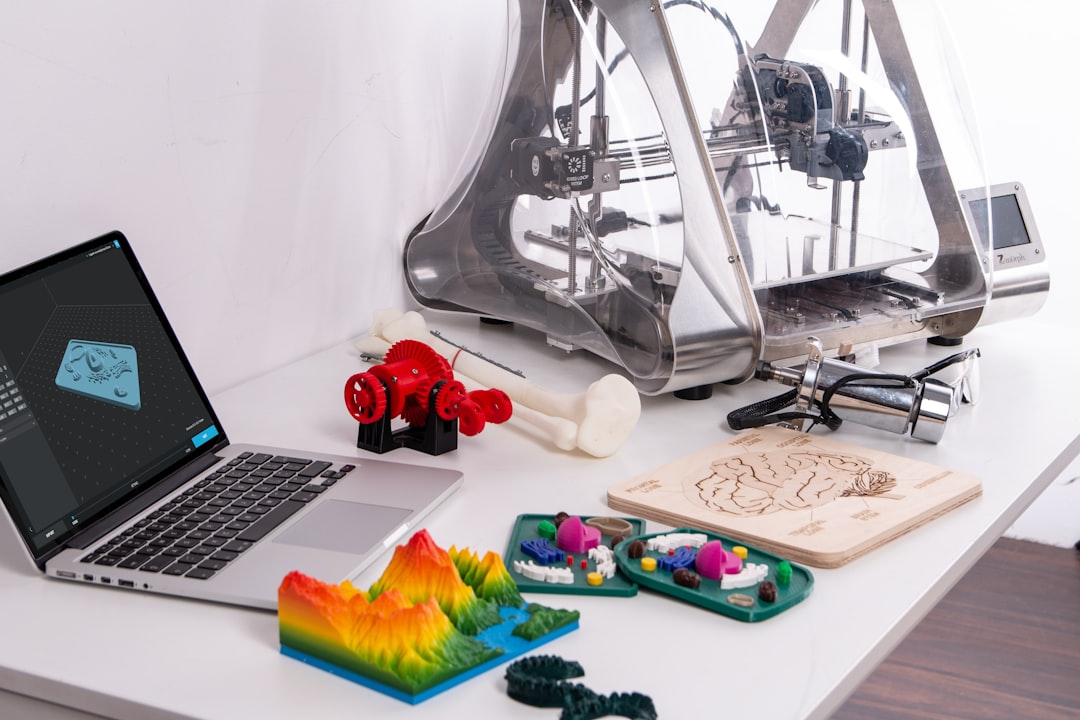
My advice after three months: buy one quality spool to start and cheap bulk once you know what you print. Bambu’s own RFID-tagged spools let the printer auto-detect material settings, which removes a whole class of beginner mistakes. Once you’re past the first month, a four-color 4 kg bundle covers most household jobs at a better per-kilo price, and Sunlu’s PLA+ ten-pack is the budget route if you want a full palette for color-coding prints. The only real trap is running out of the color a print started in — mid-print filament swaps are a learned skill, not a day-one skill.
Run the annual math and the printer defends itself. I’ve replaced roughly $60 to $80 worth of unbuyable or awkward-to-buy parts in three months, plus produced organizational gear I’d otherwise never have purchased at all. A machine in the $200 range pays for itself inside a year at that pace — and that’s before counting the broken things it rescues that would have been thrown away whole.
Should You Bother With Multicolor?
The tempting upsell is the AMS Lite, a feeder system that lets the printer swap between up to four colors automatically. It genuinely works — single-nozzle color changes are slow and waste some plastic in the purge, but the results look terrific, and the combo pricing softens the blow compared to buying the feeder later.
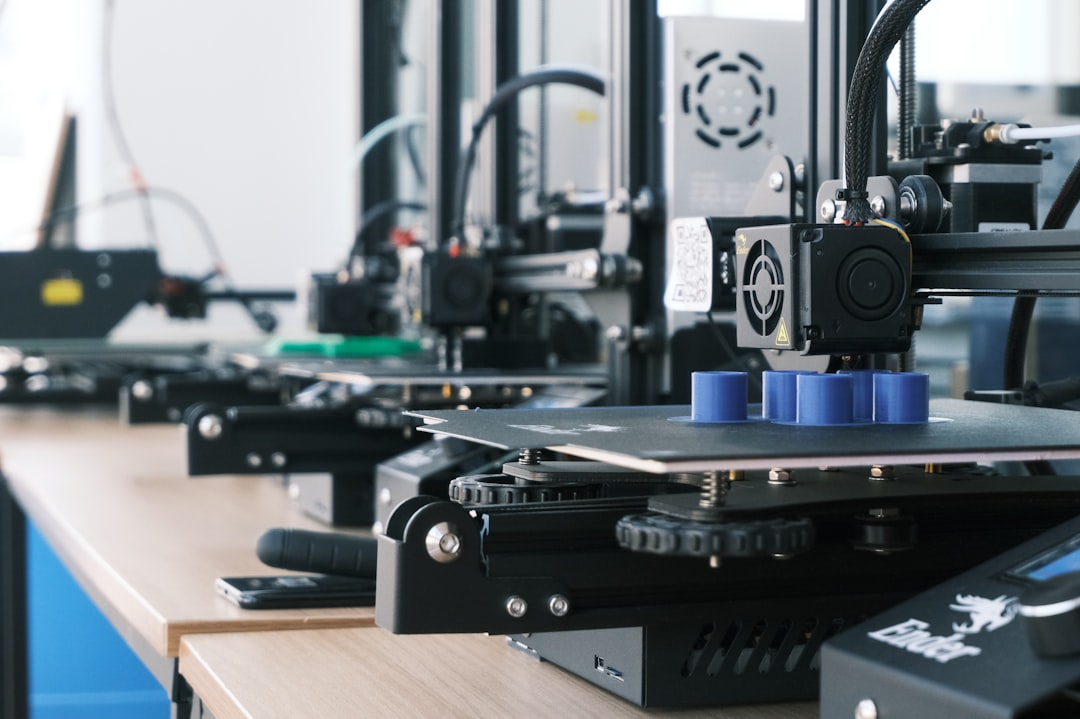
My honest take for repair-focused buyers: skip it at first. Parts don’t need to be pretty; they need to exist. Multicolor earns its keep for gifts, logos, and fun — and if that turns out to be you, the A1 mini combo with the AMS Lite is the way in, since buying them bundled saves real money over adding the feeder down the road. But every hour I’ve spent with this machine has reinforced the same priority order: function first, color eventually.
The Honest Caveats After 90 Days
Standard PLA softens around 60 degrees Celsius, which means anything living in a hot car, on a sunny windowsill, or near a heat source needs a tougher material like PETG instead. This is the caveat that bites people — a part that’s perfect in April can droop in a July dashboard. Learn one tougher filament and the problem disappears.
Prints take time. A replacement bracket can be a three-hour job, and big prints can run overnight. That’s fine — the machine is safer unattended than the old generation ever was — but 3D printing will never compete with same-hour shipping for urgency. It competes with parts you cannot buy at any speed. And the open frame that makes the mini so desk-friendly also rules out the fume-y engineering filaments; those want an enclosure and better ventilation than a home office offers. iFixit’s caution is fair, too: printed parts are strong in the directions plastic layers bond and weaker between them. For a laptop foot, irrelevant. For a load-bearing bracket, print with orientation in mind or use more perimeters.
None of these caveats have changed my usage. They’ve just made me better at it.
When to Size Up Instead
The mini’s 180-millimeter cube covers an astonishing share of repair work, but there’s a real ceiling. If you’re already eyeing printer enclosures, camera rigs, or organizational trays that span a desk, the full-size A1 with its larger build plate is the same experience with more room. And if you know you’ll end up in temperature-hungry materials — PETG for durability, eventually the exotic stuff — the enclosed P1S combo is the rational ceiling for a home shop. My usual advice applies: buy the smallest machine that covers tomorrow’s needs, not the biggest that fits the budget, because the smaller one actually lives on your desk instead of a storage shelf.
The Verdict: A Repair Tool Disguised as a Gadget
I bought this machine to make one rubber foot. Three months later it has produced clips, mounts, stands, adapters, and dividers across two households, and it has retired the specific kind of shopping where you buy a $60 assembly to get a $0.10 part. In a hardware cycle defined by price inflation and shrinking repairability, a two-hundred-dollar device that manufactures the parts nobody will sell you isn’t a niche hobby purchase. It’s the most sensible upgrade I’ve made this year — and the only one that literally makes its own accessories.
If your desk, workshop, or junk drawer contains something held together with tape and optimism, you already have your first print queued up.