Why I Finally Bought a Bluetooth Label Maker (And How It Changed My Cable, Storage, and File Organization Forever)
For years, I dismissed label makers as something for elementary school teachers and Martha Stewart types. I’m a tech guy. I have zip ties, Sharpies, and a decent memory. What did I need with a gadget that prints plastic stickers?
Then came the day I spent 45 minutes hunting for a specific USB-C cable in a box of identical-looking black cords. The one I needed was buried somewhere in a tangle of cables, adapters, and dongles that had been accumulating since 2018. That was the morning I broke down and ordered a Brother P-touch PT-N25BT — and it’s one of the best $60 purchases I’ve made for my home office.
Here’s what nobody tells you about modern label makers: they’re not just for pantry jars. They’re a force multiplier for every messy drawer, tangled cable pile, and disorganized storage bin in your life. And the Bluetooth models that showed up a few years ago? They changed the game completely.

The Old Way vs. The New Way
I used to think labeling was a waste of time. You grab a Sharpie, write “HDMI” on a cable, and call it done. But six months later, that writing is smudged, illegible, or peeling off. Or worse, you labeled it wrong and now you’re second-guessing yourself every time you reach for that cable.
The old-school label makers — the handheld ones with a QWERTY keyboard and that distinctive mechanical whir — are still around. They work fine. But they’re frustrating to use. You’re hunting and pecking on tiny keys, squinting at a tiny LCD screen, and guessing whether you spelled everything right before you hit print. If you made a mistake? Start over.
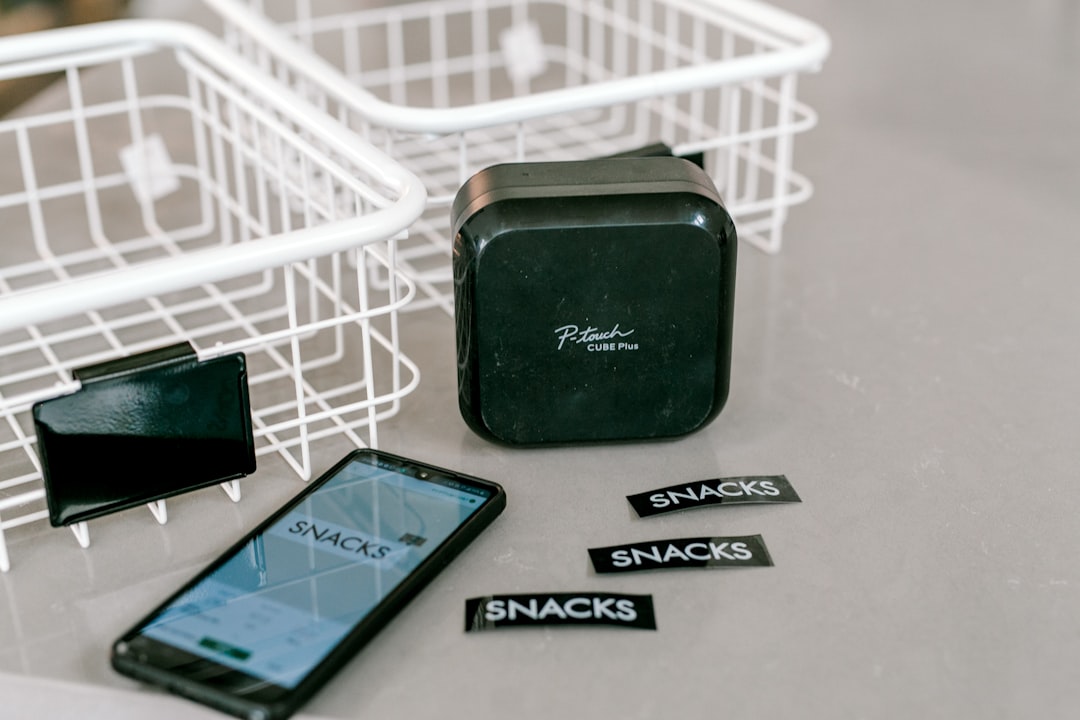
Bluetooth label makers like the Brother P-touch or Dymo’s mobile-connected models solve all of that. You type on your phone’s keyboard. You can see exactly what the label will look like before you print. You can save frequently-used labels. You can even add barcodes, QR codes, or icons. And the best part? The label tape is genuinely durable. I’ve had labels on cables that get unplugged and replugged weekly, and they’re still readable two years later.
What This Actually Looks Like in Practice
Let me walk you through how I’ve integrated this tool into my workflow, because the real value isn’t just about printing labels — it’s about creating systems that scale.
The Cable Management Reset
I did a cable management reset last weekend. Ten cardboard boxes of cables, adapters, and power bricks. In the past, this would’ve taken me all day, and I’d still end up with mystery cables that I was afraid to throw away.
This time? I grabbed the label maker, a roll of clear tape, and started sorting. Every cable got a label right near the connector end. “USB-C 100W” on my laptop charger. “Micro HDMI” on that adapter I use for portable monitors. “Nintendo Switch Dock” on the power brick I always seem to misplace.
The key insight here is that I’m not labeling for myself. I’m labeling for Future Me, who will be tired, in a rush, and not interested in playing detective at 11 PM when something stops working. Future Me appreciates clear, unambiguous labels.
For cables that stay in one place — like the permanent power strip under my desk — I went a step further. I labeled the outlets themselves. “Monitor,” “Router,” “Backup Drive.” Now when I need to reset something, I’m not crawling under there tracing cords to figure out which plug goes where. I just know.
This level of organization might seem excessive until you’ve lived through the frustration of troubleshooting connectivity issues in a messy workspace. Knowing which cable goes to which device cuts troubleshooting time from 15 minutes to 30 seconds.
Storage Bins That Actually Make Sense
I have a storage closet. You probably have one too. It’s where useful things go to die, because you can never find anything in there. I solved this with a $15 investment: a uniform set of clear plastic bins and the label maker.
Every bin gets a label on two sides — the front and one end. That way, I can read the label whether the bins are stacked or lined up on shelves. “Summer gear,” “Holiday decorations,” “Backup cables,” “Camera equipment.” No more opening five bins to find the Halloween decorations.
Here’s the thing that surprised me: this works for digital organization too. I labeled my external hard drives with their contents and the date of the last backup. I labeled SD cards for my camera with the project name and date. When you’re shuffling through a stack of identical-looking black rectangles, that tiny label saves you minutes every time.

The File System Upgrade
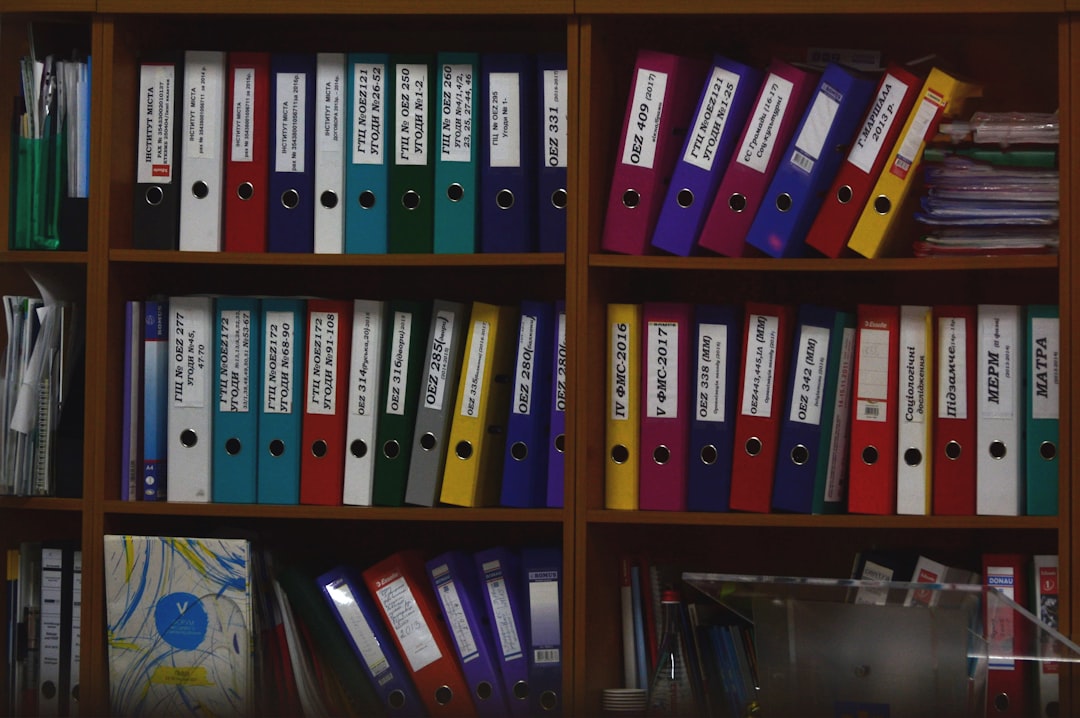
I’ll be honest: I was skeptical about labeling paper files in 2026. Everything’s digital, right? But the reality is that I still have paper. Warranties, receipts for expensive gear, medical documents, tax paperwork. And I used to shove it all in a filing cabinet and hope I’d never need to find anything in a hurry.
Now I use a simple color-coded system with the label maker. Red labels for urgent stuff like current warranties. Blue for long-term storage like tax documents. Green for active project folders. Each folder gets a clear, professional-looking label that includes the date range. When I look at my filing cabinet now, I can see what’s where at a glance. No more opening “Tax Documents 2023” three times before finding what I need.
This approach complements other organizational upgrades I’ve made to my workspace. After getting my cables and storage under control, I also tackled the desk surface chaos with a smart desk mat that hides cables and documents. Together, these systems create a workspace that stays organized without constant maintenance.
What to Look For in a Label Maker
After living with this for a few months, I’ve formed some strong opinions about what actually matters. Here’s the buying guide I wish I’d had:
Bluetooth Connectivity Is Non-Negotiable
Don’t buy a non-connected model. The smartphone app experience is just that much better. You type faster, you can preview your labels, and you can save templates. The Brother P-touch app lets me store all my frequently-used cable labels and power-brick labels, so I’m not re-typing “USB-C 100W” every time I need a new one.
Tape Durability Matters More Than You Think
Cheaper label makers use cheap tape that fades, peels, or turns brittle over time. The Brother TZe tape series is genuinely excellent — it’s laminated, resistant to water, heat, and most chemicals, and it doesn’t yellow in sunlight. I’ve used it on cables that get hot (like laptop chargers) and cables that live in my garage (temperature swings, humidity), and it holds up.
You’ll pay more for the good tape, but it’s the difference between labels that last and labels that you’re replacing in six months. And half the point of this system is that you set it up once and it works for years.
Battery Life and Power Options
Most Bluetooth label makers run on rechargeable batteries via USB-C, which is great. The Brother P-touch claims about six months of casual use on a charge, and I’ve been getting something close to that in real-world use. Just be aware that if you’re doing a big labeling project — like redoing your entire cable collection — you’ll want to start with a full charge.
Some models still use AA batteries. Those are fine, but they add ongoing cost and e-waste. USB-C charging is one of those things that seems like a luxury until you realize you haven’t bought AA batteries in three years.
Print Width and Resolution
Most consumer label makers top out at about 12mm tape width, which is fine for 90% of home office uses. I use 9mm for most cable labels and 12mm for storage bins and file folders. Some models support wider tapes up to 24mm, but those are specialized — I’ve never needed anything that big.
Print resolution is mostly irrelevant for text labels, but if you’re planning to print small QR codes or barcodes, you’ll want a model with a higher-resolution print head. Brother’s newer models handle this well; older budget models sometimes struggle with detailed graphics.
The Workflow That Stuck
Here’s how I actually use this thing day-to-day, because buying a tool is easy — building a workflow that sticks is harder:
The “Label as You Go” Rule
Whenever I add something new to my cable collection or storage system, I label it immediately. No “I’ll do this later.” Later never comes. I bought a new camera cable last week? Labeled it before I even plugged it in. Added a new storage bin for winter gear? Labeled before I put anything in it. This prevents the accumulation of mystery items.
The Annual Audit
Once a year, usually around New Year’s, I do a quick audit of my labeled systems. I check cables for peeling labels (rare, but it happens). I verify that storage bins still match their contents. I update any labels that have become obsolete or inaccurate. This takes about an hour, and it keeps everything functioning smoothly.
The Template Library
I’ve built a small library of label templates in the Brother app. Power cable templates with wattage labels. Network cable templates with speed and category labels. Project folder templates with date ranges. This means I’m not re-creating the wheel every time I need a new label. I just tap the template, adjust the specifics, and print. It takes seconds.
The ROI Calculation
Let’s be real about costs. A good Bluetooth label maker runs $50-70. TZe tape runs about $10-15 per cartridge, and a cartridge lasts me about 2-3 months of moderate use. So you’re looking at maybe $100-120 in year one, and $60-80 per year thereafter in tape costs.
Is it worth it? For me, absolutely. Here’s the concrete payoff:
Time saved: I spent 45 minutes hunting for that cable that started this whole journey. Now I find any cable in under 30 seconds. I grab it, I use it, I put it back. That time adds up. If I’m saving 10 minutes a week on cable and storage hunts, that’s over 8 hours a year.
Reduced frustration: There’s something deeply demoralizing about hunting through a box of cables at 11 PM when you’re trying to finish a project. That frustration tax is real, and eliminating it matters.
Better systems: Because labeling is now frictionless, I’m actually maintaining systems I used to neglect. My cables are organized. My storage bins make sense. My filing cabinet is usable. My home office feels professional instead of chaotic.
Future-proofing: When I eventually move or overhaul my workspace, everything is already labeled. I’m not re-solving organizational problems. I’m just placing labeled boxes into a new space. That’s huge.
Who Actually Needs This?
I’ve recommended this to a lot of people, and I’ve noticed a pattern in who actually follows through and buys one:
Yes, you need this if: You have more than 20 cables that you can’t identify at a glance. You have a storage closet where you can never find anything. You have paper files that matter. You work in a home office where efficiency matters. You’re tired of playing hide-and-seek with your own stuff.
You might not need this if: You live in a minimalist setup with fewer than 10 cables total. You don’t own anything that requires long-term storage. You’ve fully embraced digital-only workflows with no paper. You’re moving in the next six months (wait until you relocate).
The Bottom Line
I resisted label makers for years because they seemed like a solution to a problem I didn’t think I had. I was wrong. The problem was real — I just hadn’t noticed how much time and mental energy I was burning on disorganization.
A good Bluetooth label maker is one of those tools that quietly improves your life. It’s not flashy. You’re not going to brag about it at parties. But six months from now, you’ll realize you’re not hunting for cables anymore. You’re not opening five storage bins to find one thing. You’re not squinting at smudged Sharpie labels wondering what you meant.
And that, honestly, is worth $60.