

I’ve rebuilt my desk setup more times than I care to count. New monitors, different keyboards, upgraded laptops, a rotating cast of peripherals — and every single time, the cables won. They’d spill out from behind the desk like intestinal overflow, tangling into a mess that made me reluctant to even reach back there. If you’ve ever tried to trace a single USB-C cable through a rat’s nest of power cords and HDMI leads, you know the feeling. Last month I decided enough was enough and dedicated an entire weekend to fixing my cable situation properly. Here’s what actually worked — and what I’d skip next time.
The Under-Desk Tray Changed Everything
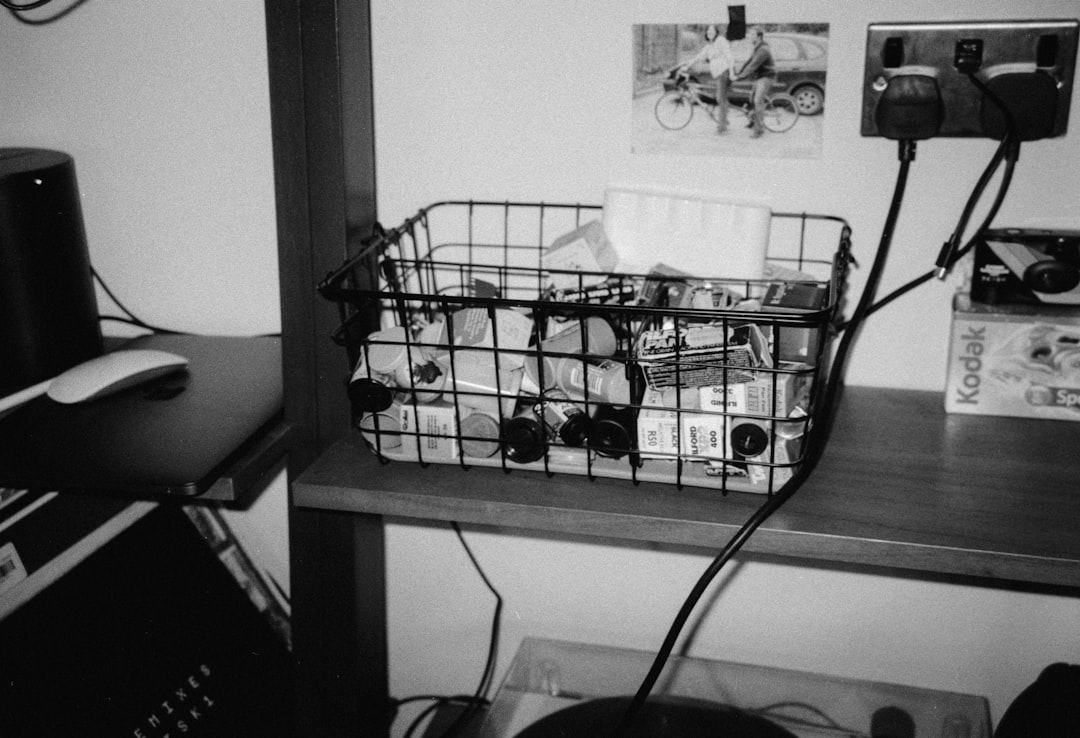
The single biggest upgrade I made was mounting an under-desk cable tray. Not a fancy one, either — just a basic steel mesh tray that screws into the underside of your desktop. The concept is stupidly simple: instead of letting power strips, chargers, and excess cabling dangle or pile on the floor, everything lives in a tray that’s completely invisible from your sitting position. My setup uses a CCCEI tray that cost me around twenty-five bucks, and it holds a power strip, two laptop chargers, an external GPU brick, and all the excess cable length from my monitor and keyboard runs. If you’re running a setup with multiple drives and peripherals, this is non-negotiable.
You can find a solid under-desk cable management tray on Amazon for under $30. The key is getting one wide enough to accommodate your power strip alongside your cable bundling — the narrow ones fill up fast once you start routing everything into them. I’d recommend measuring your power strip first, then adding at least two inches of clearance.
Velcro Ties: The Only Fastener Worth Buying
Zip ties are a trap. I know this because I’ve cut hundreds of them off my own setups over the years. They’re cheap, they feel secure, and they make it nearly impossible to adjust anything later without scissors. Every time I needed to swap a cable or reroute a connection, I’d be slicing plastic and starting over. Velcro cable ties solve this completely. They’re reusable, adjustable, and strong enough to hold thick cable bundles without cutting off circulation to your wires. I bought a pack of one hundred for about eight dollars and used maybe forty of them on this project. The rest went into a drawer for future builds — because there’s always a future build.
Grab a bulk pack of reusable Velcro cable ties and you’ll never go back to zip ties. I use the 8-inch length for most desk runs and the 12-inch ones for bundling thicker monitor and power cables together.
Cable Sleeves for the Vertical Runs
If you’re using a standing desk — and honestly, you probably should be at this point — the cables that travel from the desktop down to the floor present a unique challenge. They need to flex and move as the desk goes up and down, which means loose cables will swing, catch, and eventually pull on connections. A cable sleeve bundles everything into one clean tube that bends naturally without tangling. I run a single neoprene sleeve from my tray down to the floor outlet, and inside it I’ve got the power cable, HDMI, USB-C to my monitor, and my ethernet run. From the front of the desk, it looks like one thick black cable instead of a five-car pileup.
Look for a neoprene cable management sleeve that’s at least 60 inches long. The shorter ones won’t reach from desk to floor if you’re standing at full height, and you don’t want tension pulling on your connections every time you adjust the desk. As I found when perfecting my desk setup over three years, the vertical cable run is where most people give up — don’t be most people.
Monitor Arm Cables Deserve Their Own Strategy
Here’s something nobody tells you about monitor arms: they’re cable management systems disguised as ergonomic upgrades. When I finally ditched my monitor stands and switched to arms, I gained back a massive amount of desk surface and discovered that most quality arms have built-in cable channels along the interior of the arm itself. Running your display cable and power through the arm’s internal routing means you see exactly zero cables from the front. It’s one of those changes that makes your desk look twice as clean with zero ongoing effort. My primary display — the same one I wrote about in my monitor upgrade piece — now looks like it’s floating with no visible connections whatsoever.
If your monitor arm doesn’t have internal routing, adhesive cable clips along the arm’s exterior work almost as well. The point is to keep those cables tight to the arm so they don’t dangle and ruin the floating effect.
The Power Strip Is Your Foundation
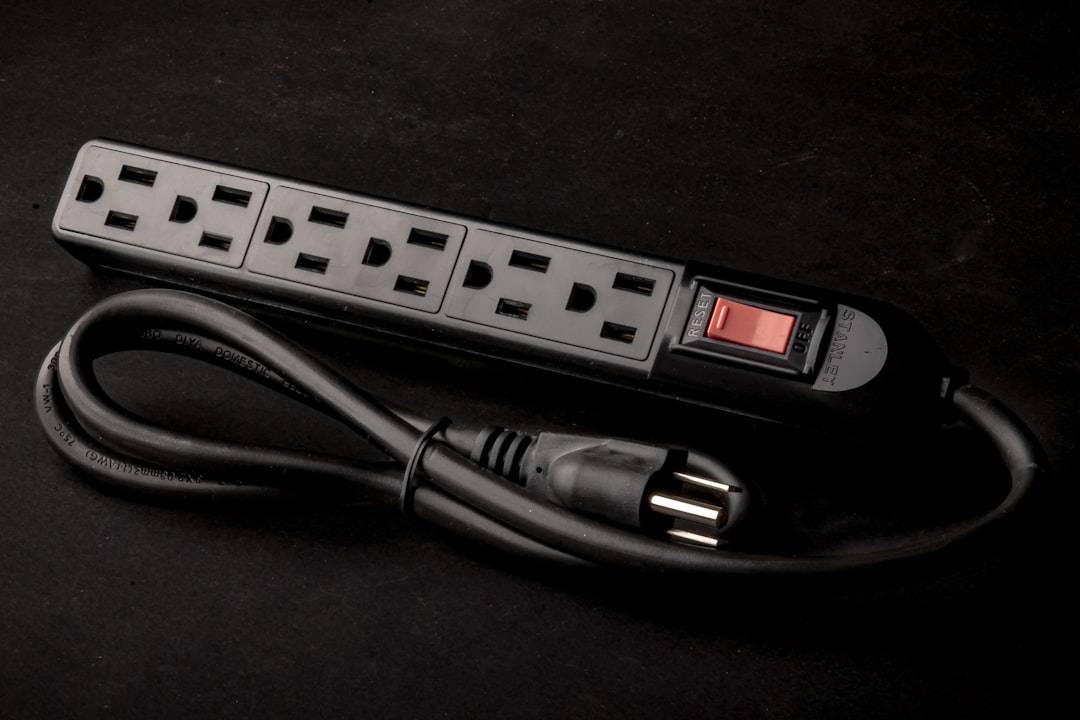
Most people treat the power strip as an afterthought — they buy whatever’s cheapest, shove it under the desk, and forget about it. This is backwards. Your power strip is the foundation of your entire cable management strategy, and choosing the right one makes everything else dramatically easier. I switched to a flat plug power strip with widely spaced outlets and individual switches, and it eliminated two problems at once: the wall-wart transformers no longer block adjacent outlets, and I can actually turn off specific devices without crawling under the desk. The flat plug sits flush against the wall outlet, which means my desk can sit closer to the wall without the plug being the widest point in the gap.
A flat plug surge protector with individual switches runs about twenty to thirty dollars and is worth every penny. Make sure it has at least eight outlets and proper surge protection rating — you’re plugging in thousands of dollars of gear, so the twelve-dollar no-name strip from the gas station isn’t cutting it.
Adhesive Cable Clips for Surface Runs
Not every cable goes under the desk. Your keyboard cable, mouse cable, headset wire, and charging cables all travel across or along the desktop surface, and left to their own devices, they’ll migrate everywhere. Adhesive cable clips are the answer here — small plastic anchors with a sticky backing that route a single cable along a specific path. I use them to run my keyboard cable along the back edge of the desk and my charging cable along the side where my phone dock sits. The key is planning your path before you start sticking things down. Once those adhesive pads grab your desk surface, repositioning them is a pain. Lay everything out first, mark your spots with a pencil, then commit.
A multi-size adhesive cable clip kit gives you options for different cable diameters. The smaller ones are perfect for thin USB cables, while the larger diameter clips handle power bricks and thicker monitor cables.
The Right-Size USB-C Cables Eliminate Half the Mess
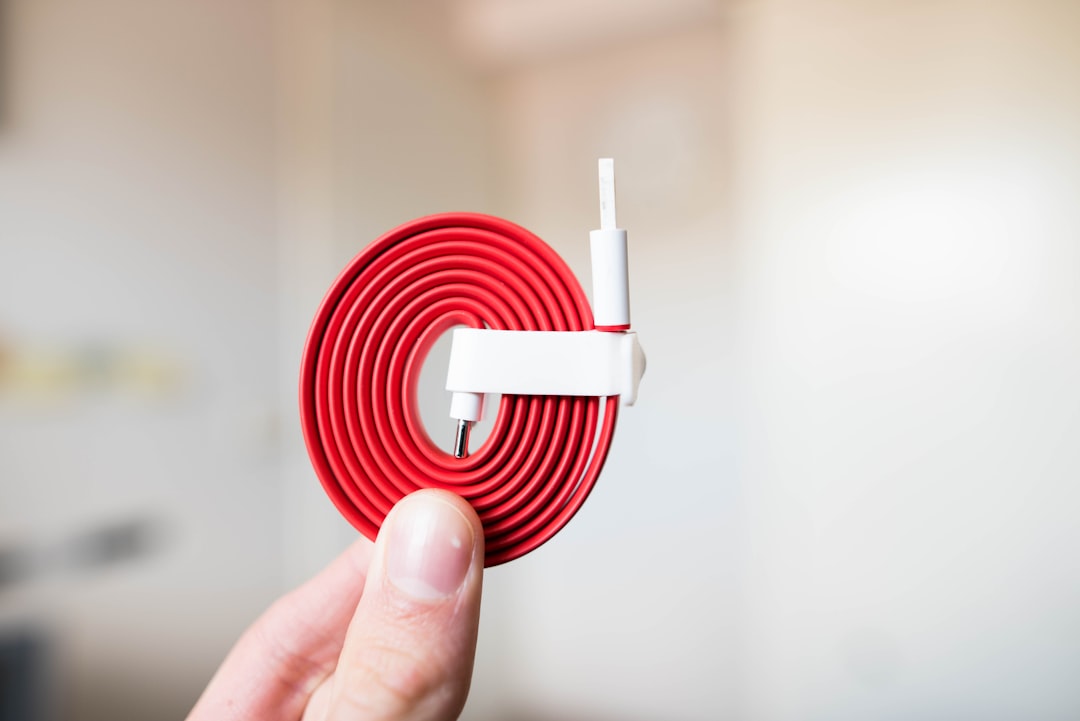
Here’s an uncomfortable truth: a significant portion of cable clutter comes from using cables that are way too long for the actual distance they need to cover. That six-foot USB-C cable connecting your laptop to a monitor that’s eighteen inches away? The extra four and a half feet has to go somewhere, and it usually ends up coiled into an ugly lump. Once I started buying cables in specific lengths — one-foot, two-foot, three-foot — the amount of excess I had to manage dropped by probably forty percent. Shorter cables are cheaper too, so you’re spending less money for a cleaner result. I keep a box of various-length USB-C, HDMI, and power cables so I can grab the right size whenever I change my setup.
You can pick up short USB-C cables in multiple lengths for just a few dollars each. Braided cables hold up better to bending and routing, so they’re worth the small premium over the basic rubber-coated ones.
Why I’ll Never Go Back to Cable Chaos
The whole project took me about four hours from start to finish, and that includes the time I spent measuring, planning routes, and reorganizing my power distribution. The materials cost less than a hundred dollars total — a tray, a sleeve, Velcro ties, clips, and a proper power strip. For that investment, I gained a desk that photographs clean from any angle, components I can swap without untangling anything, and honestly just a calmer feeling when I sit down to work. There’s something psychological about a clean workspace that makes you feel more in control of everything else.
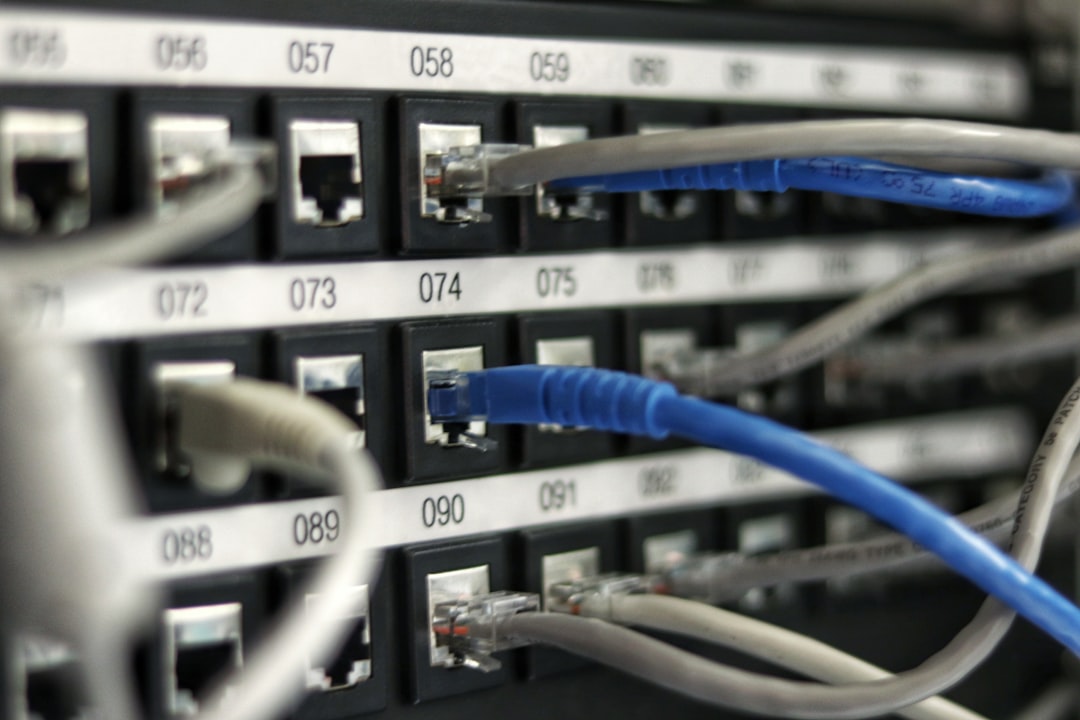
I also added a label maker to my toolkit, and I cannot overstate how useful it is to have every cable labeled at both ends. When something stops working — and something always stops working — you can trace the exact cable in seconds instead of playing the unplug-and-guess game. A basic label maker costs around twenty bucks and pays for itself the first time you need to debug a connection issue without pulling your entire tray apart.
If you’re reading this with a mess of cables behind your desk right now, I get it. I ignored mine for years too. But dedicate one weekend to fixing it properly and you’ll wonder why you waited so long. The gear I’ve linked above is exactly what I used, nothing more, nothing less. Start with the tray and the Velcro ties — those two items alone will transform your setup — and add the rest as budget allows. Your future self will thank you every single time you sit down at a desk that actually looks as good as it performs.

2 thoughts on “The Cable Management Reset That Actually Sticks: My Weekend Project After Years of Desk Chaos”