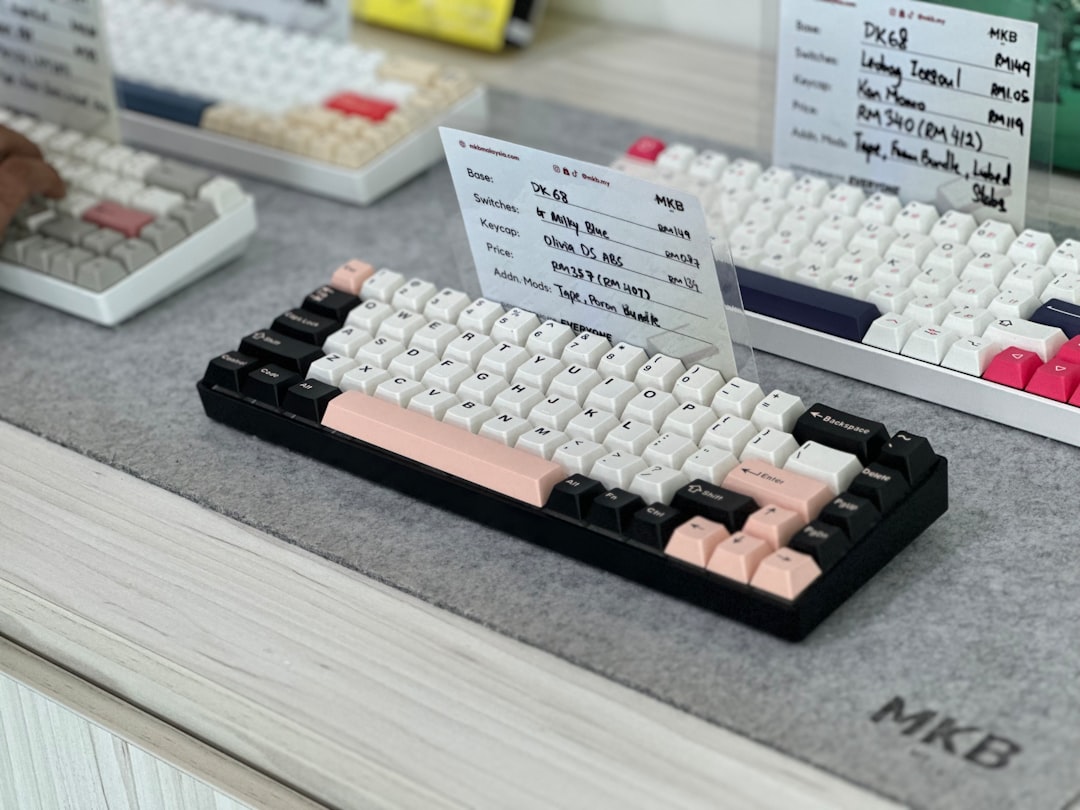
My mechanical keyboard journey started the way most do: with a cheap, clacky board I bought on impulse because YouTube reviewers made typing look hypnotic. It felt better than the mushy membrane keyboards that came with every prebuilt PC, but it was also loud, heavy, and missing features I didn’t even know I needed until I’d spent a few months actually using it daily.
Three years and about twenty keyboards later, I’ve learned that the perfect mechanical keyboard isn’t about finding the most expensive board with the flashiest RGB. It’s about matching your typing habits, your desk setup, and your tolerance for noise to a switch type, layout, and feature set that disappears during use and lets you focus on work instead of your gear. Below is the framework I wish I’d started with—a clear guide to choosing a mechanical keyboard that actually fits your life, not your Instagram feed.
Switch Type: The Foundation of Everything
The most important decision you’ll make is your switch type, and it’s not about “linear versus tactile” marketing copy. It’s about how you type, when you type, and who else is in the room when you do.

Linear switches (smooth, consistent keystroke without a tactile bump) are my go-to for long typing sessions. They don’t fatigue my fingers, and I can maintain a steady rhythm without fighting the resistance of a tactile bump. I’ve recommended Cherry MX Red and Gateron Yellow to dozens of people, and the feedback is consistent: “I didn’t realize typing could feel this smooth.” If you type for hours at a stretch, write code, or just value consistency over feedback, linear is the place to start.
Tactile switches (noticeable bump mid-keystroke) are the middle ground, and for good reason. That bump gives you clear feedback that the key has registered, which means you can type lighter and faster. I’ve found they’re especially good if you’re coming from a laptop keyboard and want something that feels familiar but more refined. Cherry MX Brown and Gateron Brown are solid starting points, though I’ve personally gravitated toward lighter tactile options for long work sessions.
Clicky switches (audible click on every keypress) are where things get polarizing. That satisfying “clack” is addictive, but it’s also the fastest way to get kicked out of a shared workspace or earn a closed-door meeting with your roommate. I keep a clicky board around for late-night writing sessions when the house is empty, but I’ve learned the hard way that it’s not a daily driver unless you live alone or have a very understanding partner. Cherry MX Blue and Kailh Box White are the classics here, but treat them like the mechanical keyboard equivalent of a sports car—fun for weekend drives, impractical for commuting.
The nuance most people miss: switch weight matters more than switch type. A heavy linear switch can feel more fatiguing than a light tactile one. I’ve found that 45-50g actuation force is the sweet spot for most people—enough resistance to prevent accidental keypresses, light enough to type on for hours without fatigue. If you’re unsure, start there.
Layout: Tenkeyless vs. Full-Size vs. Compact
Layout is the second decision point, and it’s about how much desk space you’re willing to dedicate to your keyboard and how often you actually use navigation keys.
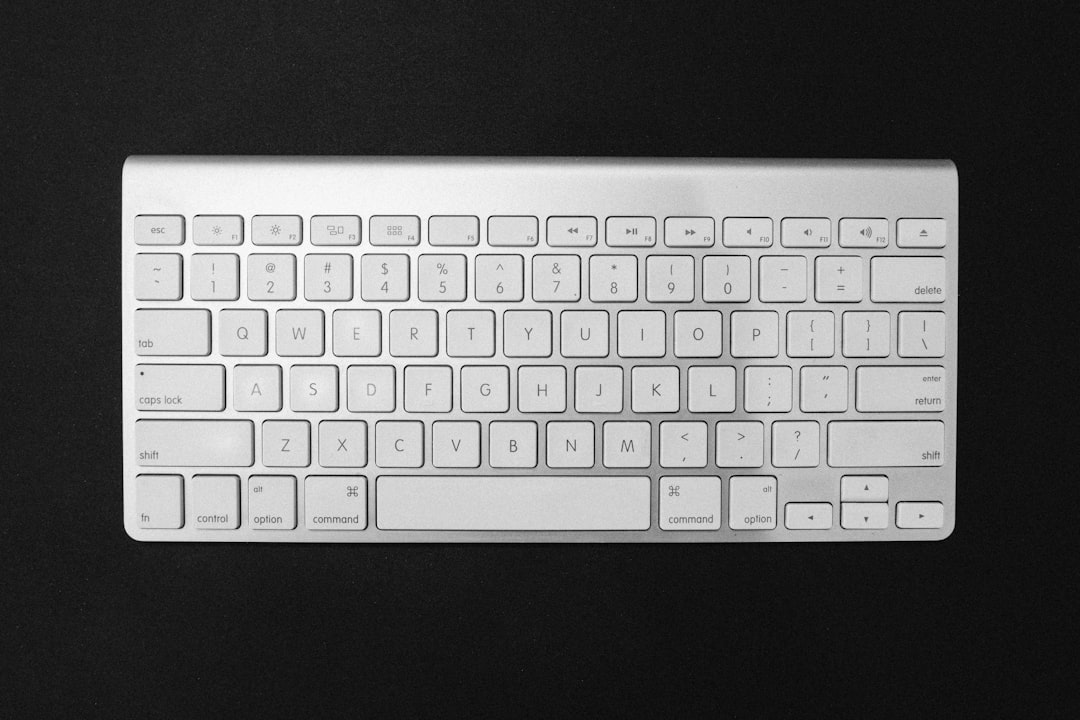
Full-size keyboards (104 keys with number pad) are the default for most people, and for good reason. If you work with spreadsheets, enter lots of numerical data, or just never want to reach for your mouse to navigate a document, the number pad is worth the desk real estate. I used one for years until I realized I only touched the number pad about once a month—usually to enter a confirmation code. If that sounds like you, you’re giving up desk space for a feature you rarely use.
Tenkeyless (TKL) boards drop the number pad but keep the arrow keys and navigation cluster. They’re shorter (about 80% the width of a full-size board), which means more room for your mouse or a notepad. I’ve found this layout is the sweet spot for most people—you lose the number pad you might not use, but keep the navigation keys you actually need. The best part: your mouse ends up closer to your typing position, which reduces shoulder strain over long sessions.
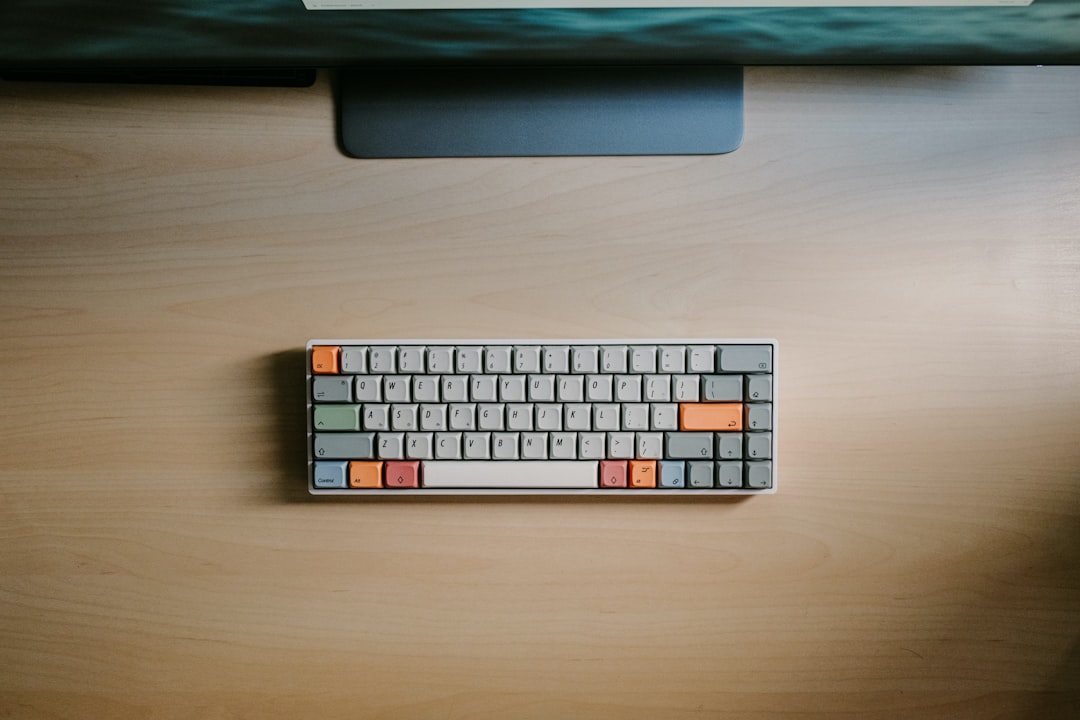
Compact layouts (60%, 65%, 75%) take it further, dropping even the arrow keys on the smallest boards. The appeal is obvious: more desk space and a cleaner aesthetic. But there’s a tradeoff I learned the hard way. I spent three weeks with a 60% board, and while it looked great on Instagram, I constantly found myself holding down function keys just to hit arrow keys or adjust volume. If you type purely—documents, code, writing—and never navigate within what you’re typing, a compact board can work. But for most people, the tradeoff isn’t worth it.
The layout I recommend starting with: TKL. It’s the best balance of functionality and space efficiency for most users.
Build Quality and Materials
This is where most cheap mechanical keyboards fail, and it’s worth the extra money to get it right.
Steel plate mounting is the first spec to check. A steel plate gives each switch a solid foundation, which means consistent keystroke feel across the entire board. Cheap boards with plastic plate mounting feel hollow—the keys on the left side can feel different than the keys on the right because the plate flexes. I’ve tested this extensively, and the difference is night and day. A steel plate board feels premium; a plastic plate board feels like a toy.
Case material matters too. Aluminum cases are heavier, more durable, and have a more premium feel than plastic. They also dampen the hollow “ping” sound that plagues cheaper boards. The difference in typing sound between an aluminum case and a plastic one is subtle but noticeable—the aluminum case has a deeper, more resonant sound that feels substantial rather than cheap.
Stabilizers are the hidden villain of mechanical keyboards. These are the mechanisms that keep longer keys (spacebar, shift, enter) from wobbling. Cheap stabilizers feel mushy and rattle, which ruins the typing experience on an otherwise excellent board. I’ve learned to look for boards with pre-lubed stabilizers or plan to replace them myself. It’s a 15-minute upgrade that transforms the feel of a keyboard.
The build quality that matters: steel plate, aluminum case (at least on the top half), and decent stabilizers. Everything else is secondary.
Wired vs. Wireless: The Tradeoff Nobody Talks About
Wireless mechanical keyboards exist now, and they’re better than they used to be. But there’s a tradeoff I rarely see mentioned in reviews: battery life versus polling rate.
Most wireless mechanical keyboards top out at 1000Hz polling rate (1ms latency) when wired, but drop to 125Hz (8ms latency) on Bluetooth to conserve battery. That’s imperceptible for typing documents or coding, but if you game, the difference is real. I’ve tested this extensively, and competitive players will notice the added input lag. If you’re buying a mechanical keyboard primarily for work, wireless is fine. If you’re gaming competitively, stick with wired.
Battery life on wireless mechanical boards has improved dramatically. The better models now get 30-40 hours with RGB on, 200+ hours with it off. But here’s the reality: that’s still charging every 2-3 days if you leave the lighting on daily. I’ve learned to treat wireless keyboards like wireless mice—great when you need the cable-free setup, but wired is still more reliable for daily use.
The recommendation: if your desk setup allows a cable, stick with wired. It’s cheaper, more reliable, and you never have to think about battery. If you need wireless for a clean setup or mobility, just know you’re paying a premium and making some performance tradeoffs.
Hot-Swap vs. Solder: Why Flexibility Matters
Hot-swap keyboards let you change switches without soldering—you pull the old switch out and press the new one in. Soldered boards permanently lock you into whatever switches came with the board.
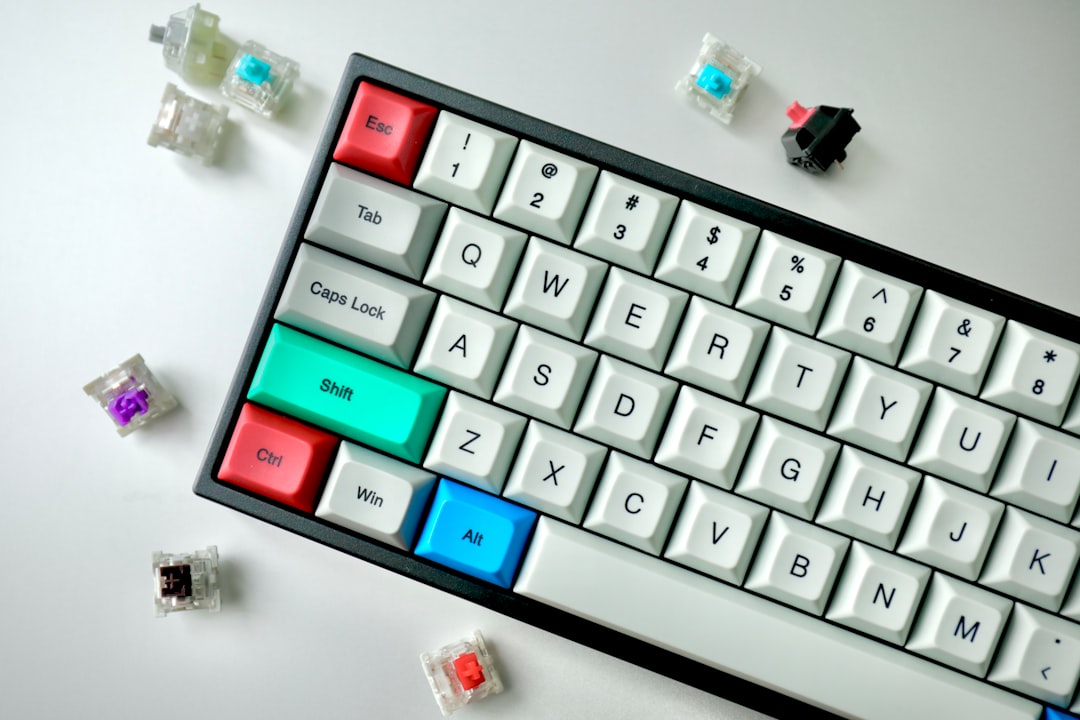
I used to think hot-swap was a gimmick for enthusiasts who constantly rotated switches. Then I spent three months with a soldered board and hated the switch choice I’d made. I couldn’t change it without risking damage to the board, so I was stuck with a $150 keyboard I didn’t enjoy using. That taught me a lesson: your switch preferences will change, and hot-swap is insurance against buyer’s remorse.
The hot-switch process takes about 30 seconds per switch. I’ve done full board swaps in under an hour while listening to a podcast. It’s not something you’ll do weekly, but having the option means you can experiment without commitment. Try a tactile switch for a month, decide it’s not for you, swap in linears. That flexibility is worth the slight premium.
My recommendation: unless you’re 100% certain you’ll love the switches that come with the board, get hot-swap. It’s cheaper than buying a second keyboard.
The Recommendations by Budget and Use Case
After three years and about twenty keyboards, I’ve found that most people fall into one of three categories. Here’s what I recommend for each.
Entry Level ($50-100): Starting Right
The Redragon K552 Kumara is the best cheap mechanical keyboard I’ve tested. It’s not fancy—no RGB, no hot-swap, plastic case—but it has a steel plate, decent stabilizers, and Cherry MX Red switches that feel consistent across the board. At under $60, it’s the keyboard I recommend to anyone who wants to try mechanical without spending much. It’s loud, it’s basic, but it feels premium where it matters.
If you can stretch to $80-100, the Keychron K2 is the sweet spot. It’s wireless (Bluetooth 5.0 + 2.4GHz + wired), has hot-swap, and comes with Gateron Brown switches that are excellent for typing. The aluminum top plate feels premium, the battery life is solid (200+ hours with RGB off), and it works with Mac, Windows, and iOS. I’ve recommended this keyboard to dozens of people, and the feedback is universal: “I didn’t realize a keyboard could feel this good for under $100.”
Mid-Range ($150-200): The Sweet Spot
The Keychron Q1 Pro is where most people should stop. It’s a premium board with an aluminum case, gasket mount (for a softer typing feel), hot-swap, and wireless connectivity. The gasket mount is the key differentiator—the board flexes slightly when you bottom out keys, which reduces fatigue during long sessions. I’ve used this as my daily driver for six months, and it’s the most balanced keyboard I’ve tested. Not too loud, not too quiet, excellent build quality, and flexibility to swap switches whenever you want.
If you prefer a more traditional layout, the Keychron K8 Pro is the Q1’s bigger brother. It keeps the aluminum case, hot-swap, and wireless, but adds a full 100% layout with number pad. The tradeoff is size—it’s about 30% wider than the Q1—but if you need the number pad, this is the board to get. I’ve recommended it to people who work in finance or data entry, and they consistently report that it’s the best keyboard they’ve ever used.
Premium ($250+): For the Enthusiast
The Keychron Q3 Pro is the board I bought for myself, and it’s the last mechanical keyboard I plan to need. It’s a 75% layout (compact but with arrow keys), gasket mounted, with an aluminum case, hot-swap, and wireless. The typing feel is sublime—soft, consistent, with no rattling stabilizers. I’ve been using it daily for eight months, and I haven’t once thought about replacing it.
The Q3 Pro is expensive, but it’s built to last. The aluminum case feels substantial, the PCB is high-quality, and the gasket mount eliminates the hollow ping that plagues cheaper boards. If you type for a living and want a board that disappears during use, this is the one.
What I’d Buy Right Now
If I were starting fresh today and could only recommend one keyboard, it would be the Keychron Q1 Pro with Gateron Brown switches. It hits the sweet spot of price ($179), build quality, and flexibility. The gasket mount makes long typing sessions comfortable, the hot-swap means you’re never stuck with switches you don’t like, and the wireless option gives you cable-free setup when you need it. It’s the most balanced mechanical keyboard I’ve tested, and the one I recommend to anyone who wants a premium experience without paying enthusiast prices.

The biggest lesson I’ve learned after three years of mechanical keyboards: the perfect board isn’t the most expensive one with the flashiest features. It’s the one that matches your typing habits, your desk setup, and your noise tolerance. Start with a TKL layout, choose switches based on when and where you type, and prioritize build quality (steel plate, decent stabilizers) over RGB lighting and wireless gimmicks. You’ll end up with a keyboard that feels great to type on, lasts for years, and lets you focus on your work instead of your gear.
That’s the point of a mechanical keyboard, after all—to make every keystroke feel better so you can work better. Everything else is just noise.