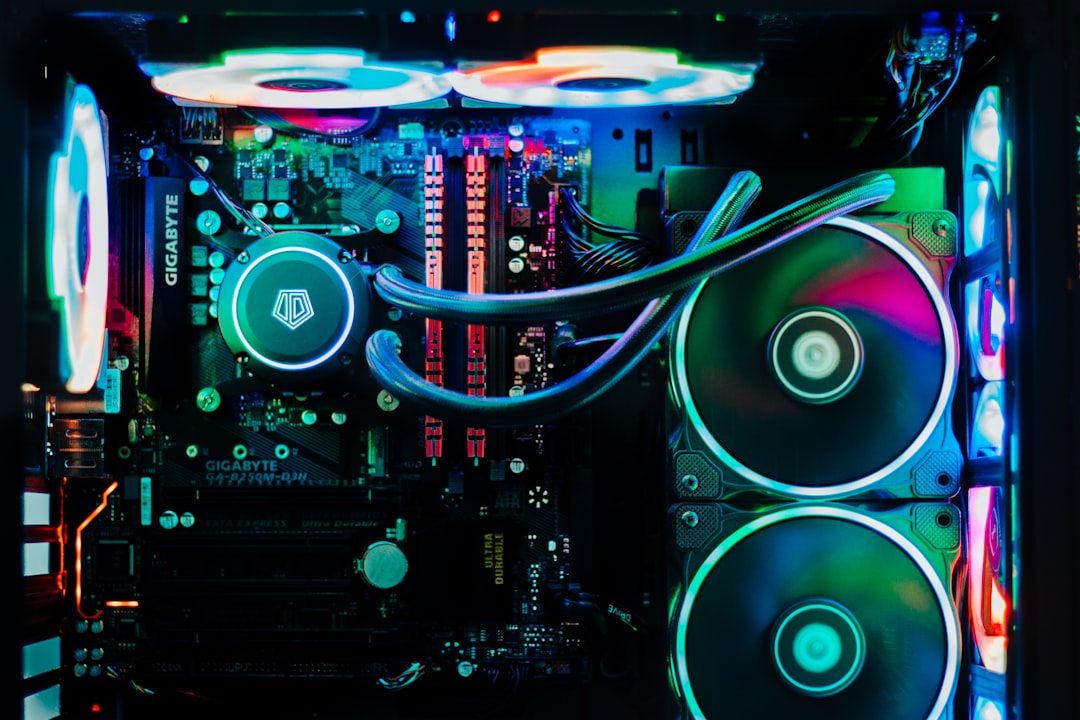
The PC Maintenance Reset That Extends Hardware Life: My Bi-Annual Cleaning Schedule
I’ve been building and maintaining computers for twenty-five years, and I’ve watched perfectly good hardware die premature deaths from neglect. Dust buildup, dried thermal paste, and forgotten fans don’t just make your PC louder—they kill components years before their time. After replacing too many fried motherboards and overheated GPUs, I established a bi-annual cleaning routine that keeps my machines running cool and quiet for the long haul.
This isn’t about obsessive cleaning rituals or voiding warranties. It’s about thirty minutes every six months that can add years to your hardware’s lifespan. I’ve tracked temperature drops of 15°C after a proper deep clean, and that difference between throttling and thermal stability is what separates a PC that lasts five years from one that lasts ten. Let me walk you through the routine I use on all my machines, from daily drivers to AI workstations.
The Warning Signs Your PC Needs Attention
Before we dive into the cleaning process, recognize the symptoms of a neglected system. Your PC will tell you when it needs attention—you just need to listen. Fan noise ramping up during simple tasks is the first red flag. Those fans are spinning faster because they’re struggling to move air through dust-clogged heatsinks. You might notice your laptop running hotter to the touch, or your desktop’s exhaust air feeling unusually warm even at idle.
Performance throttling is the more serious symptom. Games stuttering, video encoding slowing mid-render, or applications freezing briefly are often thermal issues, not software problems. Modern CPUs and GPUs throttle aggressively when they hit temperature limits, and that protective measure manifests as inexplicable performance drops. If your benchmark scores decline over months, suspect dust before blaming aging silicon.
The most obvious sign is visible dust buildup through case vents or laptop intakes. When you can see dust accumulating on the exterior, imagine what’s happening inside. That visible layer is just the tip of the iceberg—the real problem is the dust you can’t see, coating heatsink fins, fan blades, and motherboard components where it acts as insulation, trapping heat instead of allowing it to dissipate.
The Essential Toolkit
You don’t need specialized equipment for basic PC maintenance, but having the right supplies makes the job safer and more effective. Start with compressed air—specifically the moisture-free variety designed for electronics. Cheap cans can spit condensation that damages components, so spend the extra few dollars on quality gas. For laptop owners, I recommend this compressed air set that includes precision nozzles for tight spaces.
For deep cleaning, you’ll need isopropyl alcohol—90% or higher—and lint-free cleaning wipes. Lower concentrations contain too much water, and paper towels leave behind fibers that can attract dust. The alcohol cuts through thermal paste residue and evaporates quickly without leaving conductive residue that could short components. A set of anti-static brushes helps dislodge dust from tight spaces without generating static charge that could damage sensitive electronics.
For thermal paste replacement, you’ll need quality paste and application tools. Arctic MX-6 remains my go-to recommendation for most users—it’s non-conductive, easy to apply, and performs within a degree of premium pastes at half the price. Enthusiasts chasing every degree of cooling might prefer Thermal Grizzly Kryonaut, but the difference is negligible unless you’re delidding CPUs or pushing extreme overclocks. An application spreader ensures even coverage without air bubbles that create hot spots.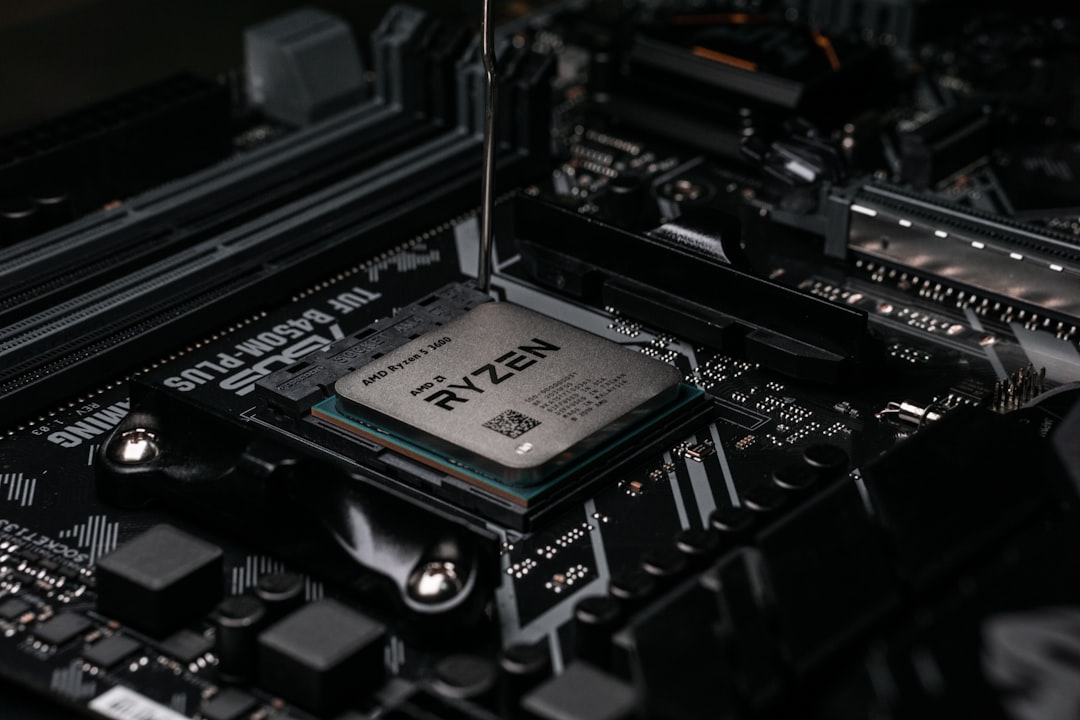
Finally, an anti-static wrist strap is cheap insurance against static discharge damage. You can work without one by keeping one hand on the metal case frame, but the strap provides constant grounding and lets you focus on cleaning instead of remembering to touch metal periodically. For desktop owners, a quality screwdriver set with magnetic tips prevents frustrating dropped screws inside cases.
The Quick Monthly Routine
Every month, spend fifteen minutes on preventive maintenance that prevents dust accumulation from becoming a problem. Start with a visual inspection through your case vents. If you can see dust buildup on intake filters or exhaust grills, that’s your cue to act. Desktop users with filter-equipped cases like Fractal Design’s offerings can simply remove and wash the filters under tap water, letting them air dry completely before reinstalling.
For systems without filters, compressed air is your first line of defense. Hold your can upright to prevent liquid discharge, and use short bursts rather than continuous spraying. The key technique is to blow dust OUT of the case, not deeper into components. Position yourself so compressed air flows in the same direction as your normal airflow—intake to exhaust. This pushes dust toward your exhaust fans where it can exit the case rather than redistributing it internally.
Laptop users have it harder since you can’t easily access internal components. Focus on what you can reach: exhaust vents, keyboard debris, and port openings. Use compressed air with precision straws to blow out exhaust vents while holding the laptop at an angle that lets dust fall out rather than deeper inside. A quick pass over the keyboard dislodges crumbs and pet hair before they migrate inside through chassis gaps. This fifteen-minute investment won’t fix severe overheating, but it prevents gradual performance degradation over months.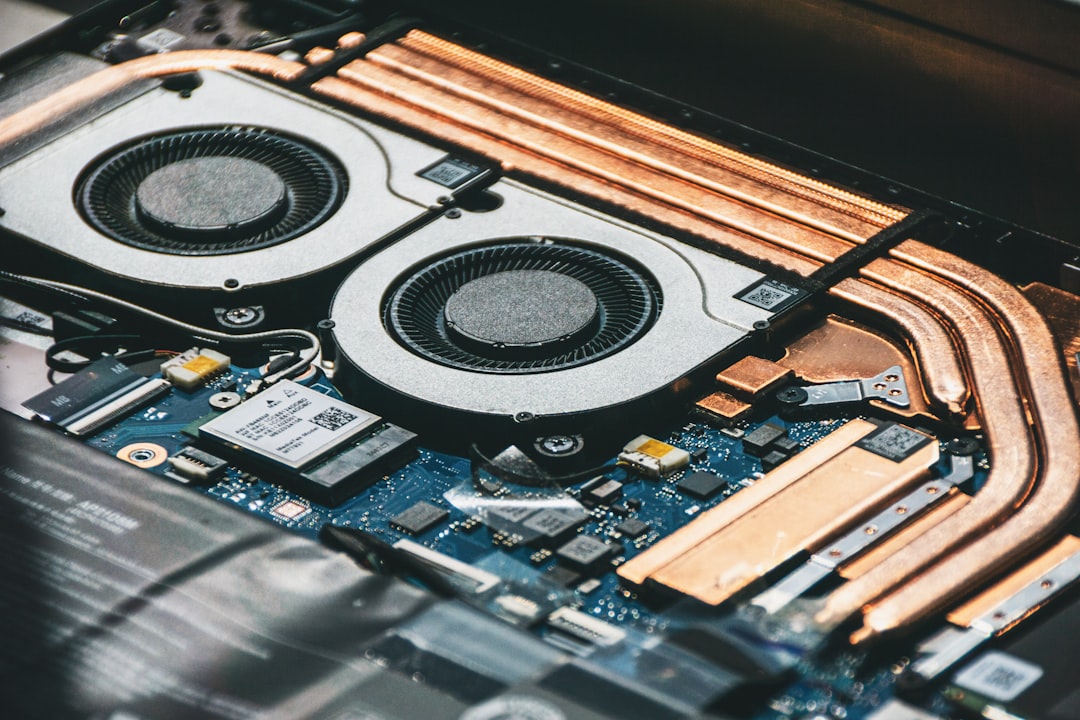
The Deep Clean Routine
Every six months, perform a comprehensive cleaning that addresses what monthly maintenance can’t reach. This requires opening your case or laptop, but the process is straightforward if you work methodically. Start by powering down completely and unplugging all cables. For desktops, move the system to a well-lit area with good airflow—your garage or outdoor space is ideal since you’ll be kicking up dust.
Remove the side panel and assess the situation. You’ll likely see dust coating fan blades, heatsink fins, and motherboard surfaces. Start with compressed air to blow loose dust from components, working from top to bottom so falling dust doesn’t contaminate areas you’ve already cleaned. Pay special attention to heatsink fins—they’re dust magnets and critical for cooling. Hold fans in place with your finger while blowing air through them to prevent them from spinning, which can generate voltage back into the motherboard.
After the initial pass with compressed air, use your anti-static brush to dislodge stubborn dust from tight spaces—around RAM sticks, between motherboard heatsinks, and in cable routing channels. Follow up with another pass of compressed air to blow away the loosened debris. This one-two punch of brushing and blowing removes dust that compressed air alone can’t dislodge, especially the fine particulate that clings electrostatically to surfaces.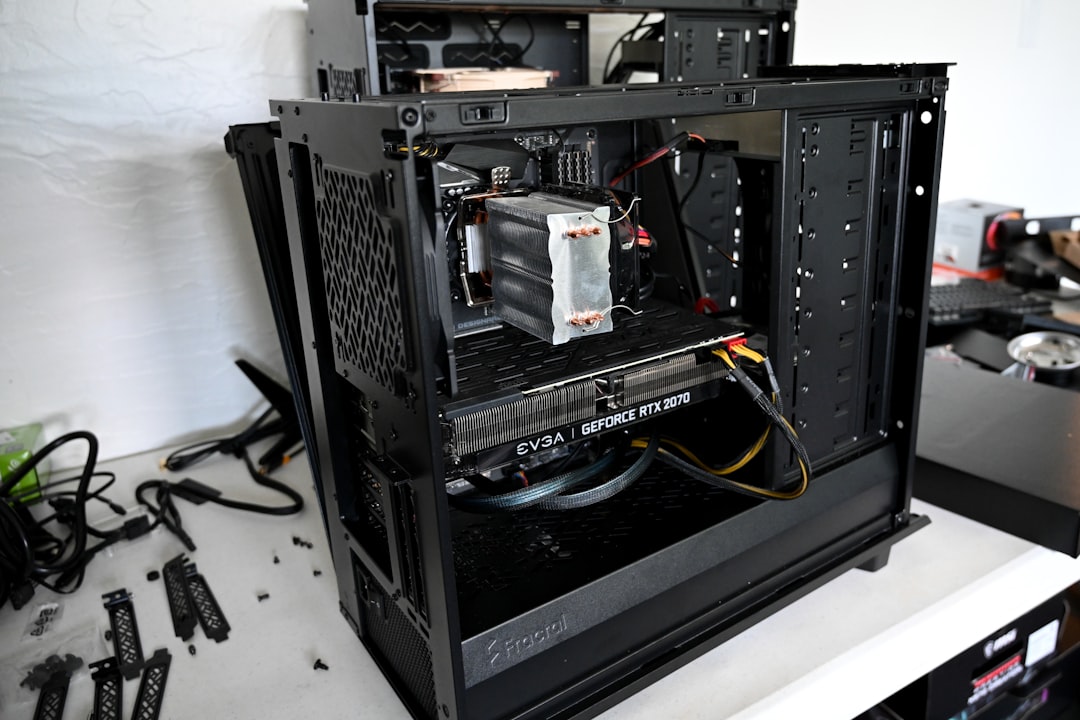
For GPU cleaning, remove the card if you’re comfortable doing so. Most graphics cards use Phillips screws to secure them to the case, and the power connectors pull straight out with gentle wiggling. Once removed, blow dust from the GPU heatsink through the exhaust vents. Some GPU coolers are accessible from the side, while others require removing the backplate. If you’re unsure about your card’s design, stick to external cleaning rather than risking damage by disassembling the cooler assembly.
The power supply deserves special attention. Its fan intake is typically on the bottom of the unit, pulling dust from the case floor where debris settles. Use compressed air to blow dust OUT through the PSU exhaust, avoiding the intake side where you’ll push dust deeper into the unit. Never open a power supply—capacitors hold lethal charge even when unplugged, and the sealed design is meant to contain component failures.
Laptop deep cleaning requires more patience but follows similar principles. Most laptops allow bottom-panel access with a Phillips screwdriver, though some designs hide screws under rubber feet or warranty stickers. Work on a large, clean surface and organize screws by location—different lengths are often used in different positions. Once inside, compressed air dislodges dust from fan blades and heatsinks, though you’ll work in tighter spaces with less room to maneuver.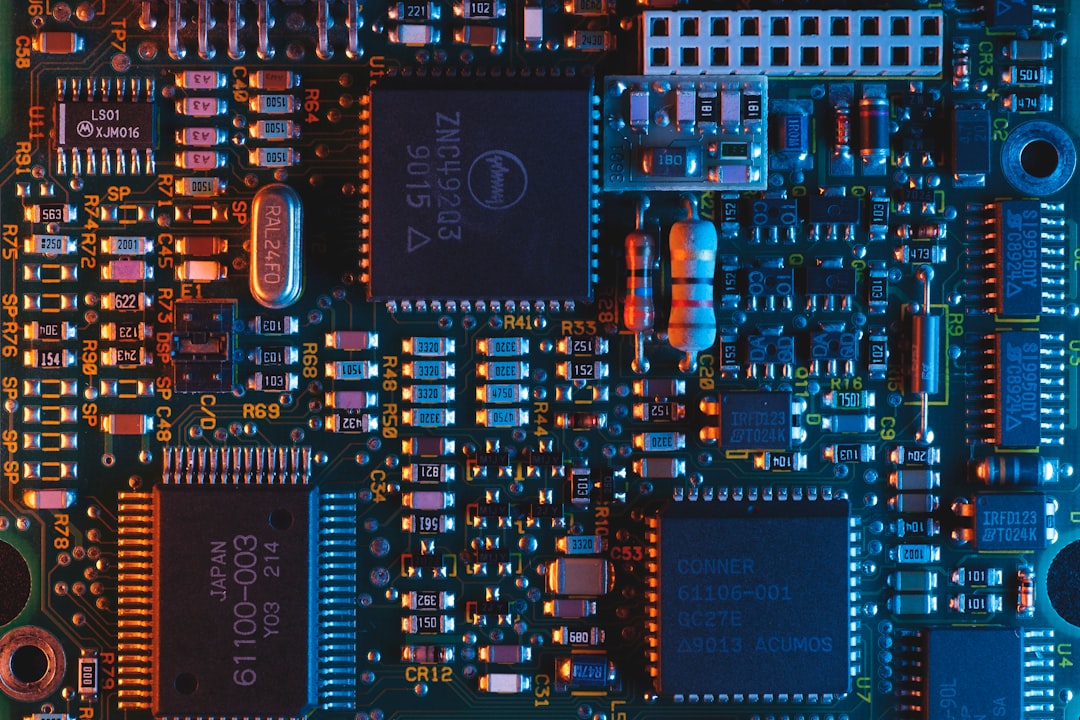
Thermal Paste Replacement
Every two years, replace your thermal paste regardless of temperature performance. Paste dries out over time, losing effectiveness even if your temperatures haven’t noticeably increased. This is particularly important for laptops, where the thin paste layer between CPU and heat pipe is critical for heat transfer in confined spaces. The hour this task takes saves you from throttling and potential component failure down the road.
Start by removing your CPU cooler. For desktop aftermarket coolers, this typically means removing the mounting bracket screws and disconnecting the fan cable. Stock Intel coolers use plastic pushpins that rotate to unlock—pull straight up after rotating each pin 90 degrees. AMD stock coolers use a metal clip that releases with gentle prying. For laptops, the cooler assembly is usually secured by four Phillips screws surrounding the CPU and GPU dies.
Once the cooler is removed, you’ll see the old thermal paste—likely dried and cracked, perhaps with gaps where contact has failed. Clean both the CPU heatspreader and cooler base with isopropyl alcohol and your lint-free wipes. The alcohol dissolves the paste, and the wipes remove residue without leaving fibers. Apply fresh pressure while rubbing—the goal is a mirror finish on both surfaces. Any old paste remaining will create air gaps and reduce cooling efficiency.
Application technique matters more than paste choice. For most users, the pea-sized drop in the center of the CPU works well—pressure from cooler mounting spreads the paste evenly. This method avoids air bubbles and excessive paste that can ooze onto motherboard components. Enthusiasts sometimes prefer the spread method using a card, but it introduces contamination risk and often applies paste too thickly. The pea drop is simple, reliable, and performs identically to more complex techniques.
Reinstall the cooler, applying even pressure to ensure good paste contact. Tighten mounting screws in a crisscross pattern rather than sequentially—this prevents uneven mounting pressure that can create thicker paste on one side. For laptops with spring-loaded screws, tighten until resistance increases, then give each screw a quarter-turn additional. Overtightening can crack the CPU die or deform the cooler base, so gentle firmness is the goal.
Common Mistakes to Avoid
In twenty-five years of PC maintenance, I’ve seen well-intentioned enthusiasts cause more damage than they prevent through avoidable errors. The first and most dangerous mistake is cleaning active systems. Always power down completely and unplug before opening your case. Some modern motherboards still supply power to components even when shut off, and spinning fans hit with compressed air can overspin and generate voltage back into the system. The ten seconds it takes to ensure full power-off is worth avoiding potentially catastrophic damage.
Vacuum cleaners are another common error. While convenient, vacuums generate massive static charge that can fry components. Even vacuums designed for electronics aren’t risk-free—the sucking action can dislodge small components like capacitors or jumpers. Stick to compressed air and anti-static brushes; they’re slower but infinitely safer. If you must use a vacuum, choose one specifically designed for electronics and keep the nozzle several inches from components.
Excessive thermal paste is a beginner mistake that looks messy and performs poorly. More paste doesn’t mean better cooling—paste is a worse conductor than direct metal-to-metal contact. The ideal layer is thin enough that you can almost read the CPU model number through it. Thick paste layers actually increase thermal resistance and create mess when it oozes onto motherboard components. The pea-sized drop isn’t stingy—it’s scientifically optimal.
Forgetting to reconnect cables is embarrassingly common. After installing a cleaned cooler, it’s easy to focus on paste application and miss the CPU fan header or pump power. Make a habit of photographing cable connections before disassembly, and verify all connections before buttoning up your case. A missing fan connection won’t be obvious until temperatures spike during your first workload, by which point you’ve reassembled everything and must repeat half the work.
Finally, avoid the temptation to clean motherboard surfaces with aggressive methods. Compressed air is fine, but wiping with alcohol-soaked cloths can damage surface-mount components. Motherboards are designed to be cleaned, but gently—air and soft brushes only. If you encounter stubborn grime, consult your motherboard manual rather than risking damage with improvised cleaning methods.
When to Call a Professional
Not every maintenance task belongs in the hands of average users, and recognizing when you’re out of your depth prevents costly mistakes. Liquid cooling loops require specialized knowledge—leak testing, coolant selection, and pump bleeding aren’t skills most people develop from occasional cleaning. If your PC uses a closed-loop cooler that’s failed, replacement is straightforward, but custom loops demand professional expertise or enthusiast-level research before attempting service.
Soldered components on motherboards and graphics cards should never be touched. Cleaning around them is fine, but attempting to reseat or modify soldered connections risks permanent damage. Similarly, warranty seals and tamper-evident stickers exist for a reason—breaking them voids manufacturer support. If your laptop requires removing warranty stickers to access components, consider professional service unless you’re comfortable forfeiting warranty coverage.
Physical damage is another red flag. If you discover bent pins on a CPU socket, cracked PCBs, or bulging capacitors during cleaning, stop immediately. These issues require professional repair or replacement, not DIY fixes. Continuing to clean or operate damaged systems can turn repairable problems into total failures. The money saved by professional diagnosis often pales in comparison to the cost of replacing destroyed components.
The Long-Term Payoff
Establishing this bi-annual routine transformed my computing experience. Systems that once throttled during summer workloads now maintain consistent performance year-round. Fans that roared like jet engines run nearly silent at idle, and the temperature drop from a proper deep clean typically equals what you’d gain from an aftermarket cooler upgrade. I’ve extended the usable lifespan of aging hardware by years simply through consistent maintenance.
The financial math is compelling. A $15 can of compressed air, $8 thermal paste, and $20 in basic supplies invested every six months prevents hundreds of dollars in premature hardware replacement. Beyond money, there’s reliability—systems that don’t overheat don’t crash at critical moments. Whether you’re gaming, rendering, or working from home, thermal stability is the foundation of dependable performance.
More importantly, this routine gives you intimate knowledge of your hardware. You’ll notice failing components early, recognize when temperatures indicate a problem, and gain confidence working inside your PC. That familiarity transforms you from passive user to informed owner, capable of diagnosing issues and making upgrade decisions based on actual needs rather than marketing hype.
Thirty minutes every six months. That’s the investment. The return is quieter operation, better performance, and hardware that lasts years longer than neglected equipment. I’ve watched perfectly capable PCs turn into paperweights through dust and dried paste, while maintained systems from the same era still capably handle modern workloads. The difference isn’t build quality or brand loyalty—it’s regular maintenance that respects the engineering that went into your machine.
Internal Links
If you’re pushing your system with local AI workloads, check out my guide on why AI workstations need better cooling. And if you’re building a new setup, my comparison of NPU+GPU hybrid systems might help you choose the right hardware for your needs.