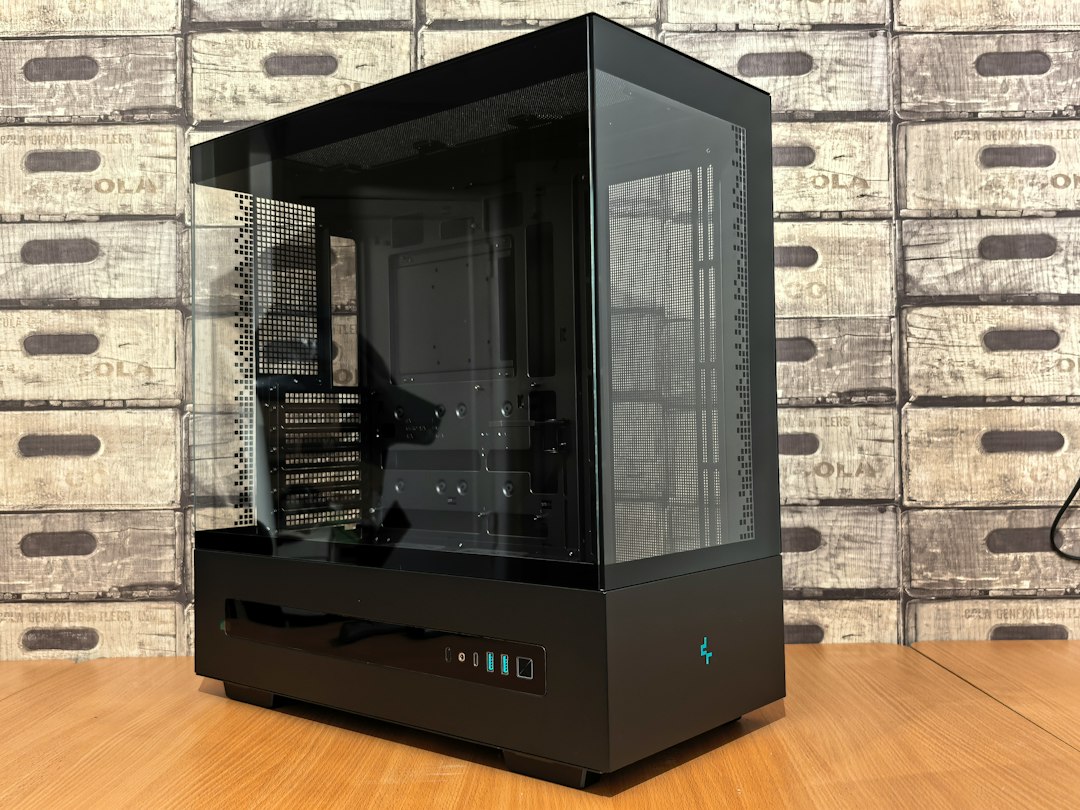
Three prebuilt towers went across my bench this week, all of them dressed up in early Black Friday banners, and all three had the same quiet tell. The graphics cards were current, the processors were fine, the cases had glass and fans and the usual light show. Then you read the last two lines of the spec sheet: a single 16GB stick of memory and a 1TB drive. On one of them, a 512GB drive. For a machine north of $1,400, that is a tower shipping half full.
Memory and flash prices have climbed all fall, and a builder chasing a $1,499 price point shaves where buyers are least likely to look. My job this week, with the team helping me pull spec sheets and price histories, was to figure out which of those shaves you should fight and which you should happily accept. The answer is surprisingly clean: pay the builder for memory, let them skimp on storage, and drop a 2TB drive into the empty second M.2 slot yourself. It takes about twenty minutes, and on most towers it saves real money.
The Short Answer
If you only read one section before Black Friday on November 27, read this one. These are the parts I would actually put in a cart for a prebuilt this season:
- The tower itself: something like the Skytech Gaming Desktop With 32GB DDR5, configured with 32GB of memory in two sticks, even if it means accepting a 1TB boot drive.
- Best second drive for most people: the Samsung 990 EVO Plus 2TB, a TLC drive with a 1,200TB write rating that won’t fall off a cliff during big copies.
- Best second drive if you find it on sale: the WD_BLACK SN850X 2TB, still one of the most consistent drives I have owned.
- Budget game-library drive: the WD Blue SN5100 2TB, a QLC drive that is fast for reading games and fine as long as you know where its limits are.
- Cheapest drive I’d still accept: the Crucial P310 2TB, strictly for a game library you can redownload.
- If your tower shipped with one memory stick: a matching Crucial 16GB DDR5-5600 Desktop Memory module to get you into dual channel.
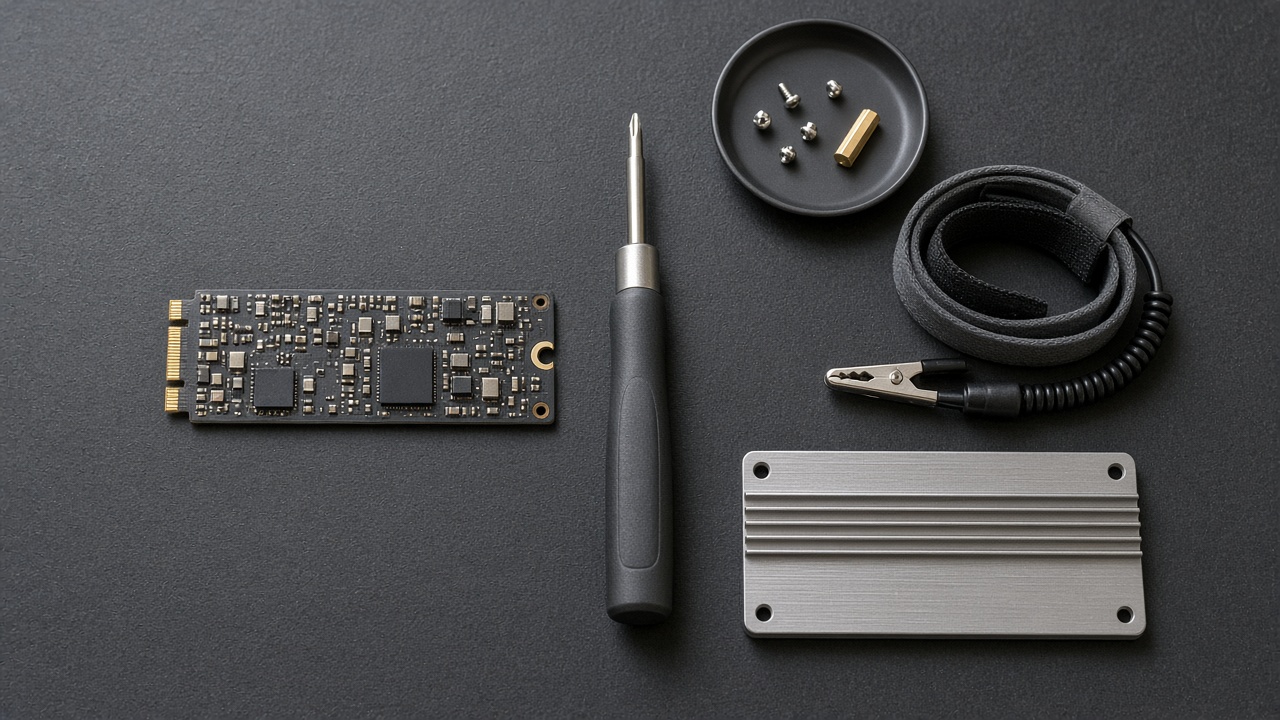
- The install kit: an iFixit Mako Precision Bit Set, an M.2 Screw and Standoff Kit, and a Rosewill Anti-Static Wrist Strap.

Why the Spec Sheet Shrank This Year
The datacenters ate the parts shelf. AI servers want enormous amounts of DRAM and flash, factories prioritized those contracts, and consumer parts got the leftovers. TrendForce’s fourth-quarter outlook had contract DRAM up roughly 10 to 15 percent quarter over quarter and NAND flash up roughly 15 to 20 percent. That is on top of increases that already started in the summer. One European price index that tracks retail DDR5 has it at more than five times its July 2025 level. I wrote about the storage side of this in my field guide to the great storage squeeze, and nothing in it has gotten better since.
A gaming tower has a price customers expect, and the GPU and CPU are the parts people compare. So the builder trims the two parts getting more expensive that most buyers skim past: memory and storage. You end up with configurations like the ones I saw at one major builder this week, current-generation Ryzen and Core Ultra chips with 8GB and 16GB graphics cards, paired with a line that reads “16GB x 1 DDR5-5200” and a 1TB drive, at $1,429 to $1,499 after the discount.
That “x 1” is the detail I want you to notice. It means one memory stick, not two. And it matters more than the drive.
Spend Here First: 32GB, in Two Sticks
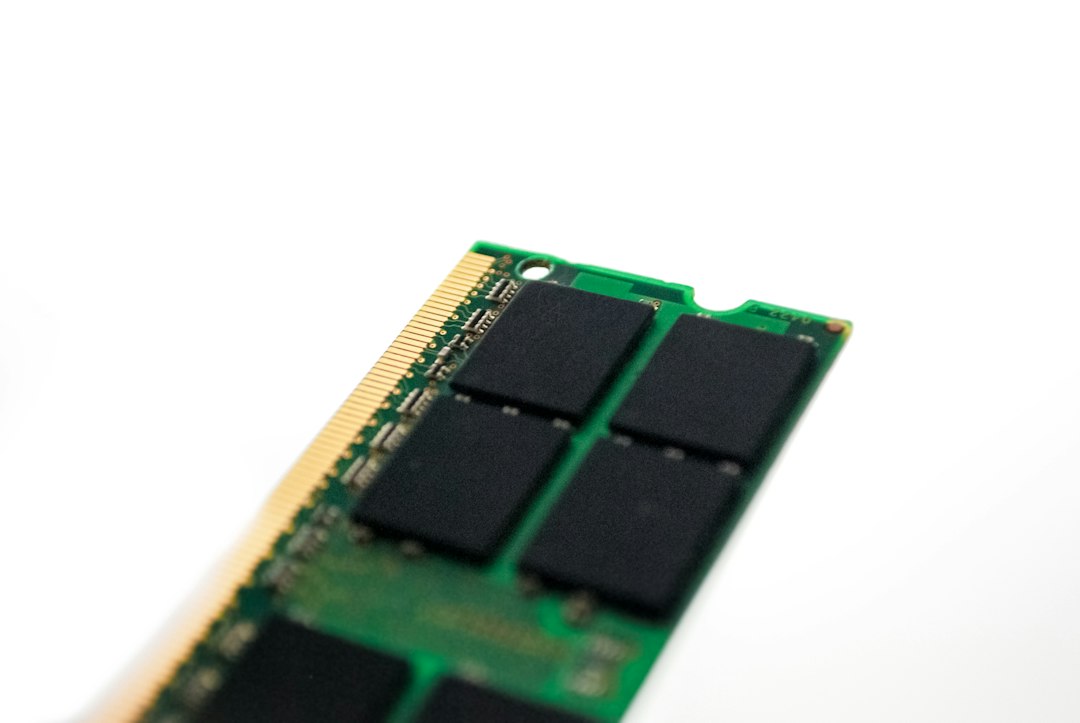
Rule one for a prebuilt this year is the same rule I gave laptop buyers in my Black Friday laptop rules for the memory crunch: get the memory right at checkout, because memory is the part you least want to buy separately right now. A builder buys DDR5 on contract; you buy it by the stick at retail, in the most inflated memory market I’ve seen in twenty-five years. If the builder offers a 32GB option for a reasonable upcharge, take it. That upcharge is almost always cheaper than buying the second stick yourself later.
And insist on two sticks. A single 16GB module runs the memory in single-channel mode, which halves the bandwidth available to the processor. In games that shows up as stutter you feel rather than an average you see in a chart, and with local AI workloads it is worse. Two 16GB sticks are 32GB in dual channel. One 32GB stick is the same capacity with half the bandwidth.
If the tower you want only comes with a single 16GB stick, you have two options. You can return to the configurator and pay for 32GB, or you can buy a matching stick and install it in the paired slot your motherboard manual calls out (usually the second and fourth slots from the CPU). Match the speed and capacity of the stick you already have. Then check the BIOS to confirm it didn’t fall back to a slow default.
Accept the Small Boot Drive
Storage is where I tell people to relax. A 1TB boot drive is plenty for Windows, your apps, your browser cache and a few games you play every week. Even 512GB is livable if you treat it strictly as a system drive. What it isn’t is a game library. Modern AAA titles routinely land between 100GB and 200GB once patches pile up, and I spent an entire article on making room for one game on a PS5. A Steam library will chew through 1TB by spring.
Letting the builder skimp is the right call because every storage step in the configurator carries a markup well above the retail difference between drives. Meanwhile, nearly every mid-tower motherboard I have opened this year has at least two M.2 slots, and most have three. The builder fills one and leaves the rest empty. Buy the tower at its cheapest storage tier, then add a 2TB drive yourself, and you end up with 3TB total, often for less than the builder wanted for a single 2TB upgrade.
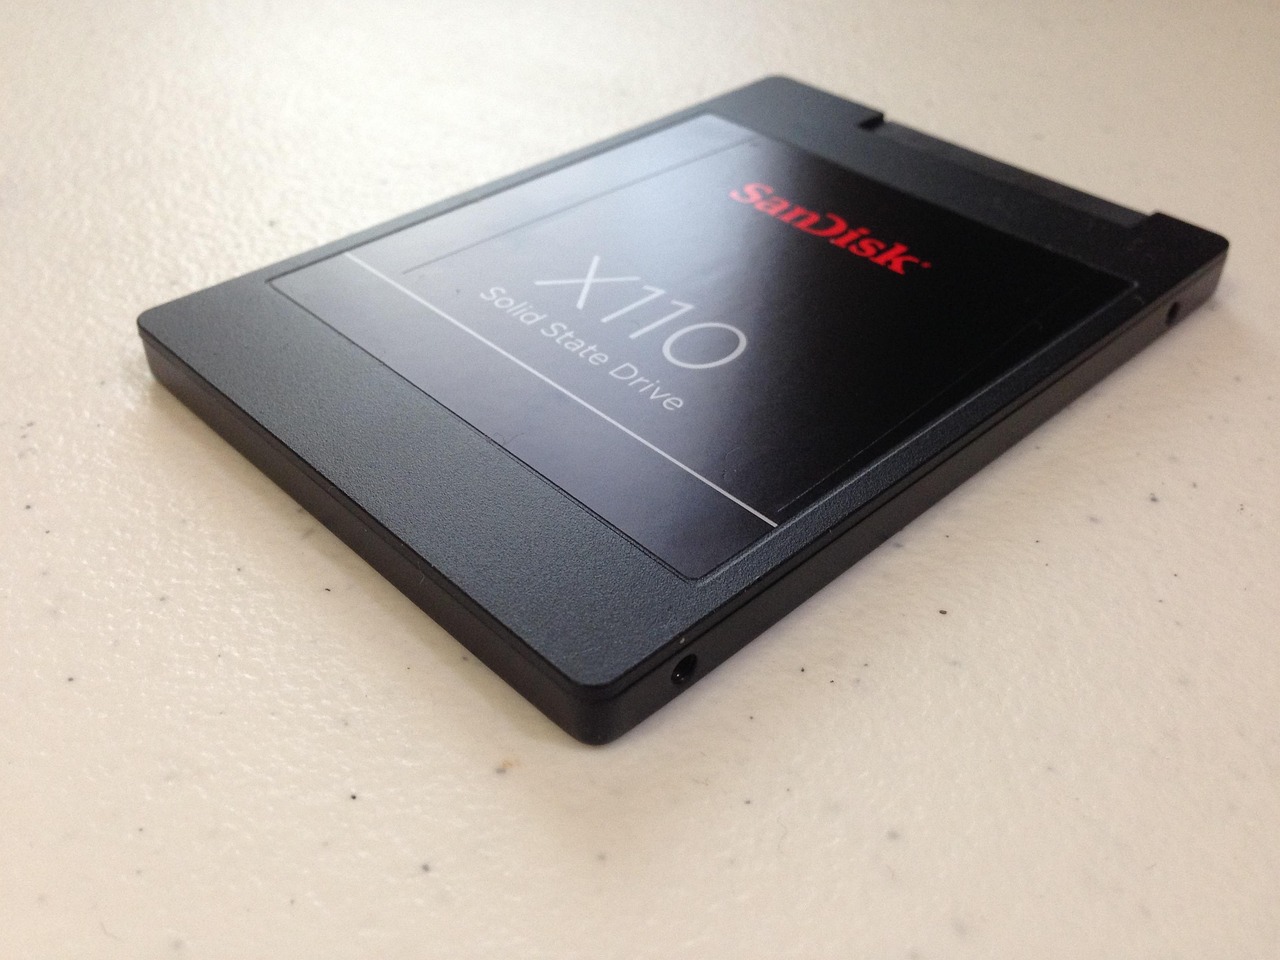
If your board somehow has no free M.2 slot, look for an empty 2.5-inch bay. A SATA solid state drive tops out around 550MB/s, a fraction of NVMe speeds, but for a game library that number matters less than people think. Load times on SATA are mostly fine. NVMe costs about the same per terabyte right now, though, so the M.2 slot comes first.
TLC, QLC and the Cache Cliff
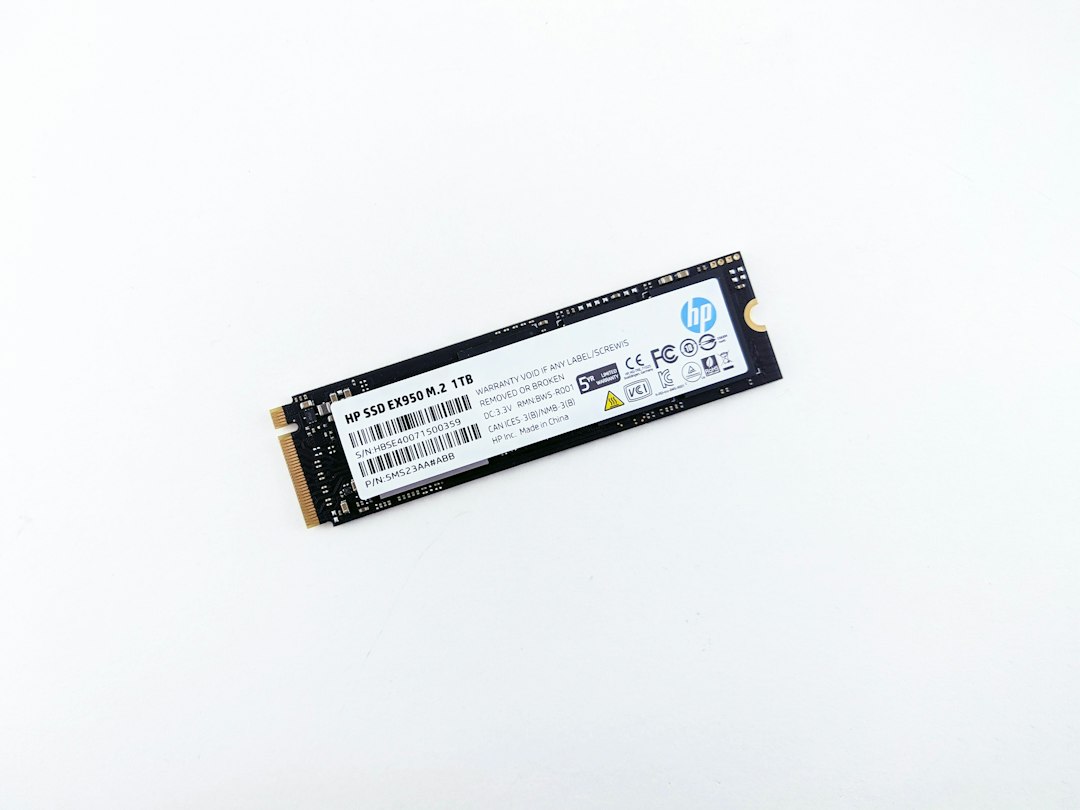
This is the part of the shopping where the cheap drive can bite you. Flash comes in two common flavors in consumer drives. TLC stores three bits per cell. QLC stores four, which is cheaper to make per terabyte but slower to write and rated for less total writing over its life. To hide that, QLC drives (and most TLC drives too) write incoming data into a fast cache first, a slice of the flash running in single-bit mode, and then shuffle it into the slower cells later.
As long as your copy fits in the cache, the drive looks spectacular. When the cache fills, it falls off a cliff. Reviewers have measured some QLC drives dropping to somewhere between 70 and 300MB/s once their cache runs out, which is hard-drive territory. A good TLC drive stays well above 1,000MB/s. The cache also shrinks as the drive fills.
For a game library, mostly that doesn’t matter: games are read far more than written, and QLC reads are fast. You’ll feel it the day you move a 600GB library from the old drive in one go, or if you edit video, record long gameplay sessions or shuffle huge files every week. Endurance is the other gap. A 2TB TLC drive like the Samsung 990 EVO Plus is rated for 1,200TB written. The QLC WD Blue SN5100 is rated for 900TB, which is generous for QLC, and the Crucial P310 sits around 440TB. Those numbers tell you who each drive was built for.
My rule: if the price gap between a TLC and a QLC 2TB drive is under about 15 percent on the day you shop, buy the TLC. If you’re only storing games you could redownload, and the QLC drive is substantially cheaper, it’s a perfectly respectable choice. And whatever you buy, check the exact model number on the listing. Some product lines quietly mix flash types across capacities, and a “2TB” variant can be a different drive from the 1TB one that got the glowing review.
Check the Board Before You Click Buy
The empty-slot trick only works if the slot exists and is useful. Before you order, find the exact motherboard model in the prebuilt’s spec sheet, which reputable builders list, and pull up the manual. You are looking for three things.
First, how many M.2 slots there are and which one the builder fills. Second, what generation each slot runs at. A secondary slot wired through the chipset might be PCIe 3.0 or 4.0 rather than the 5.0 on the primary slot, which is fine for a game drive but worth knowing. Third, whether a slot shares bandwidth with something else. On some boards, populating a particular M.2 slot disables a couple of SATA ports or drops a PCIe slot to fewer lanes.
Also check whether the board has a heatsink over the empty slot. Most current mid-range boards do. If yours doesn’t, and the drive sits right under a hot graphics card, a simple Thermalright M.2 2280 Heatsink will keep a fast Gen 4 drive from throttling during long loads. Don’t stack a heatsink on top of one the board already provides.
On warranty: in the U.S., adding a drive generally doesn’t void a desktop’s warranty, and the FTC has long warned that “void if removed” stickers don’t hold up. Still, read the builder’s policy and keep the original parts.
The Twenty-Minute Install
This is one of the easiest upgrades in desktop computing. The team and I did all three towers in an afternoon.
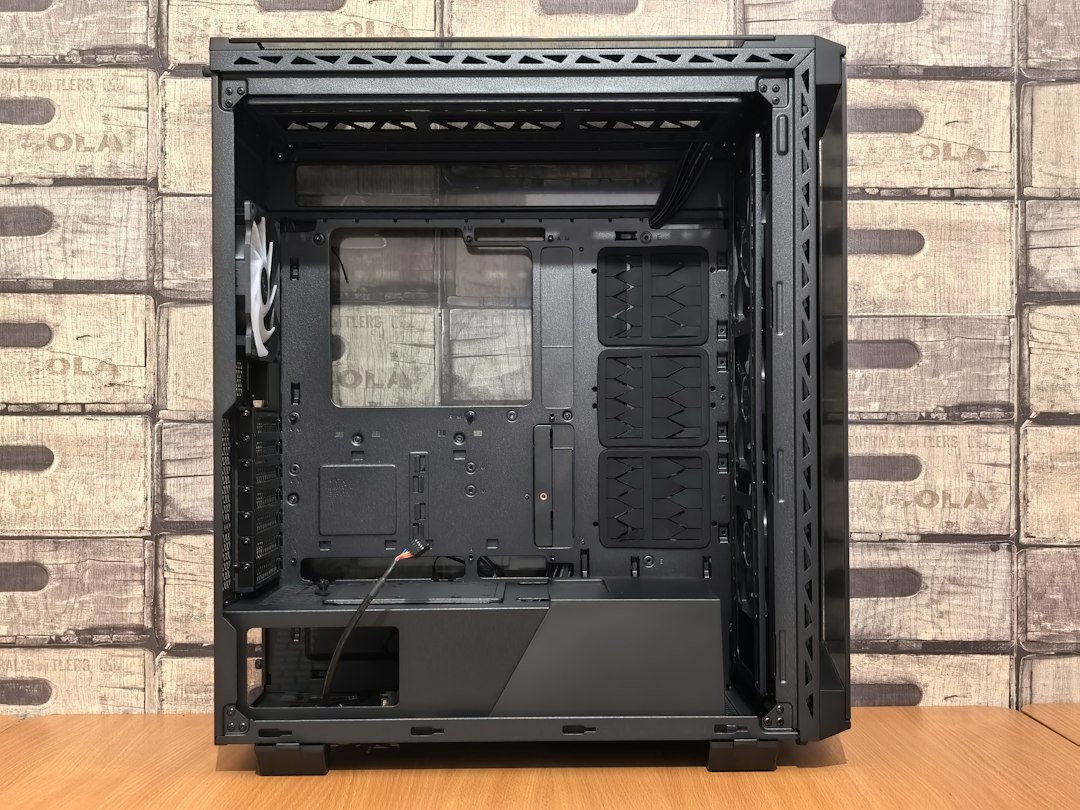
Shut the machine down, flip the power supply switch off, and unplug it. Remove the glass or steel side panel. Clip on the Rosewill Anti-Static Wrist Strap and attach it to bare metal on the case, or at minimum touch the case frame before you handle anything. Locate the empty M.2 slot, which may be hiding under a metal heatsink plate that comes off with one or two screws.
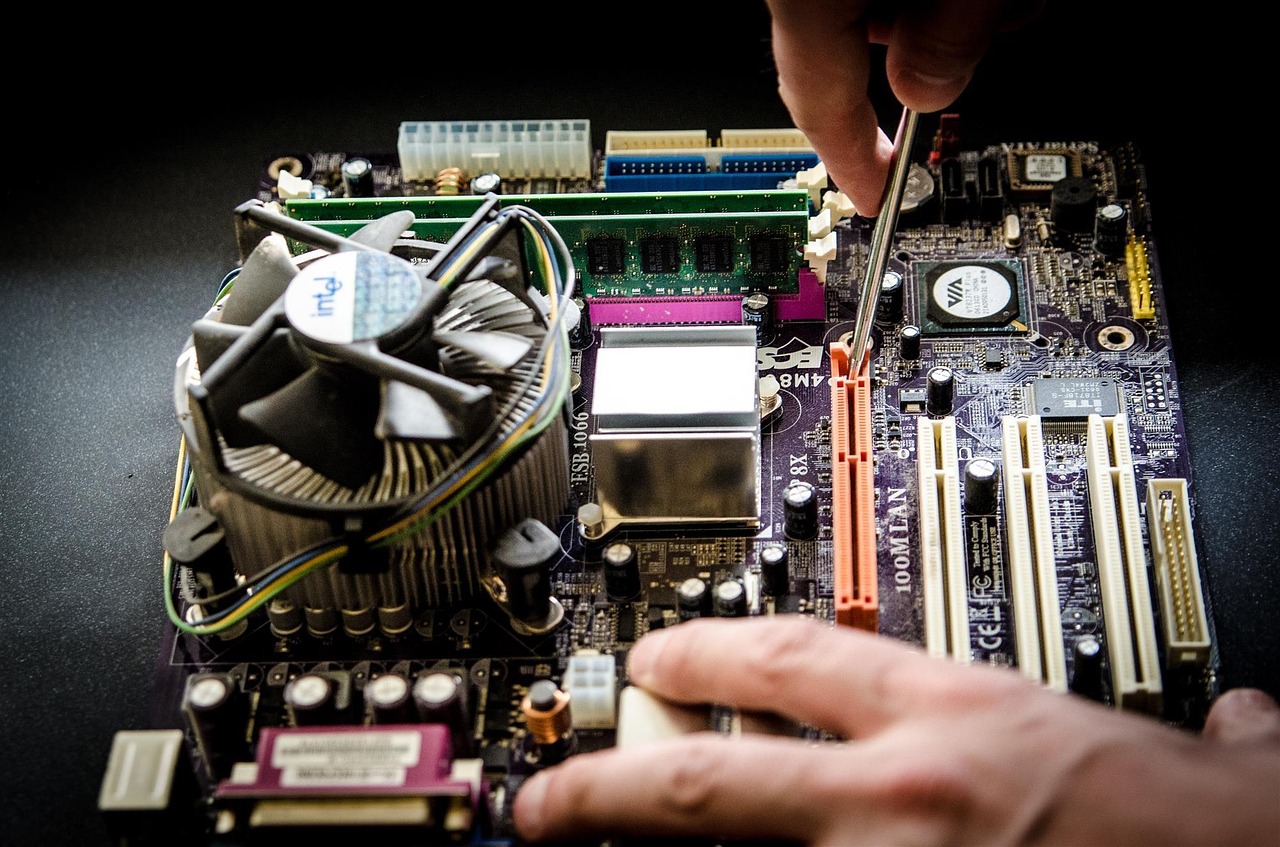
Slide the drive into the slot at about a 30-degree angle, press it flat, and secure it. Many boards now use tool-free latches; older and budget boards use a tiny screw that the builder may or may not have included in the accessory box. This is where an M.2 Screw and Standoff Kit saves a trip to the store, and the iFixit Mako Precision Bit Set gives you the right small Phillips bit instead of the stripped one rolling around your junk drawer. Peel the protective film off the heatsink’s thermal pad before you put the plate back. Forgetting that film is the single most common mistake I see.
Close the case, power up, and the drive won’t show up in File Explorer yet. That’s normal. Open Disk Management, initialize the new disk as GPT when prompted, create a new simple volume, and give it a letter and a name like “Games.” In Steam, go to Settings, then Storage, add the new drive as a library folder, and make it the default.
If you’re retiring an old drive from your previous PC rather than buying new, put it in an ORICO M.2 NVMe USB-C Enclosure first and copy the files you want across. After that, the old drive becomes a fast portable backup instead of a drawer ornament.
The Math on Three Real Configurations
Here’s how this played out on the towers we priced this week. Prices move daily, so treat this as the shape of the decision, not a quote.
The first tower came with 16GB in a single stick and a 1TB drive. Upgrading to 32GB in two sticks at checkout cost less than a retail 16GB stick would, so that box got checked. The builder wanted roughly the price of a full retail 2TB drive just to step the boot drive from 1TB to 2TB. Skipping that and adding a 2TB TLC drive ourselves gave us 3TB total for about the same money as the builder’s 2TB.
The second tower already had 32GB in two sticks but only 512GB of storage. That’s the best-case scenario for this trick, as long as the motherboard has a free M.2 slot, which this one did. A 2TB drive turned it into a perfectly balanced machine.
The third tower was the trap. It had a generous 2TB drive and a single 16GB stick, the exact reverse of what I want, and the builder didn’t offer a 32GB option on that SKU. If you love that model, budget for the matching stick on day one. If you’re on the fence, keep shopping. If you’re planning to run local AI models, my guide on building local AI rigs in this RAM market explains why memory deserves an even bigger share of the budget.
My Decision Table
Find your situation below and buy accordingly. Every pick here is something I’d put in my own cart this month.
- Tower has 16GB in one stick and 32GB costs extra at checkout: pay for the 32GB upgrade. If the builder doesn’t offer it, add a matching Crucial 16GB DDR5-5600 Desktop Memory module.
- You want a ready-to-go tower with the memory already right: look for configurations like the Skytech Gaming Desktop With 32GB DDR5 and accept whatever boot drive comes with it.
- Tower has 512GB or 1TB and you record, edit or move big files: add the Samsung 990 EVO Plus 2TB or, if it’s cheaper that day, the WD_BLACK SN850X 2TB.
- Tower has 512GB or 1TB and you just need room for games: the WD Blue SN5100 2TB is the value pick; the Crucial P310 2TB if every dollar counts.
- The empty M.2 slot has no heatsink and sits under the GPU: add a Thermalright M.2 2280 Heatsink.
- You don’t own a small screwdriver or spare M.2 screws: grab the iFixit Mako Precision Bit Set and an M.2 Screw and Standoff Kit before the tower arrives.
- You work on carpet or in a dry winter house: use a Rosewill Anti-Static Wrist Strap. It costs less than lunch.
- You’re moving a drive over from the old PC: put it in an ORICO M.2 NVMe USB-C Enclosure and copy what you need.
Buy the Box for What You Can’t Add Later
The lesson underneath all of this is an old one that this year’s prices made sharper. When you buy a prebuilt, pay the builder for what is hard or expensive to change later: the graphics card, the processor, the power supply, and right now, the memory. Don’t pay their markup for what you can add in twenty minutes with a screwdriver. Storage has been that part for a decade, and an empty M.2 slot is basically a coupon the builder left in the box.
Black Friday is November 27 and Cyber Monday is November 30, and storage often gets its best prices on the second of those days. That works out nicely for this plan. Order the tower when you find the right memory configuration at the right price, then pick up the drive on Cyber Monday, and have the whole thing installed before the leftovers run out.