
I’ve been running a local AI server in my home for about eighteen months now, and I’m here to tell you: the experience has fundamentally changed how I think about computing. Not because the hardware is exotic or expensive — it’s neither. What changed is having a machine that sits quietly on a shelf, draws less power than a desk lamp, and gives me private, instant AI capabilities 24 hours a day without sending a single packet to the cloud.
If you’ve been curious about running your own local AI models — whether for privacy, speed, cost savings, or just the satisfaction of building something yourself — this guide walks through exactly how I put together a dedicated AI appliance for under $600. No server rack required. No earplugs either.
Why Build a Dedicated AI Machine?
Plenty of people run local models on their main workstation or laptop. I did that for months. The problem is that your daily driver has other things to do — editing photos, compiling code, rendering video — and tying up GPU resources for hours to process documents or run inference chains slows everything down. Worse, you end up shutting the models off when you need your machine for actual work.
A dedicated AI appliance solves this elegantly. It runs headless, stays on permanently, and is always ready. I can SSH in from my laptop, fire API calls from my phone, or let automated scripts hit it overnight while I sleep. The machine doesn’t complain, doesn’t need a monitor, and barely makes a sound. For anyone serious about integrating AI into daily workflows, a separate box is the way forward.
The privacy angle matters more than most people realize. Every document, conversation, and code snippet I process through this machine stays local. No cloud service scanning my data for training material. No API bills that spike unexpectedly. Just my hardware, my models, my data. That peace of mind alone justified the build cost within the first month.
Choosing the Right Base Hardware
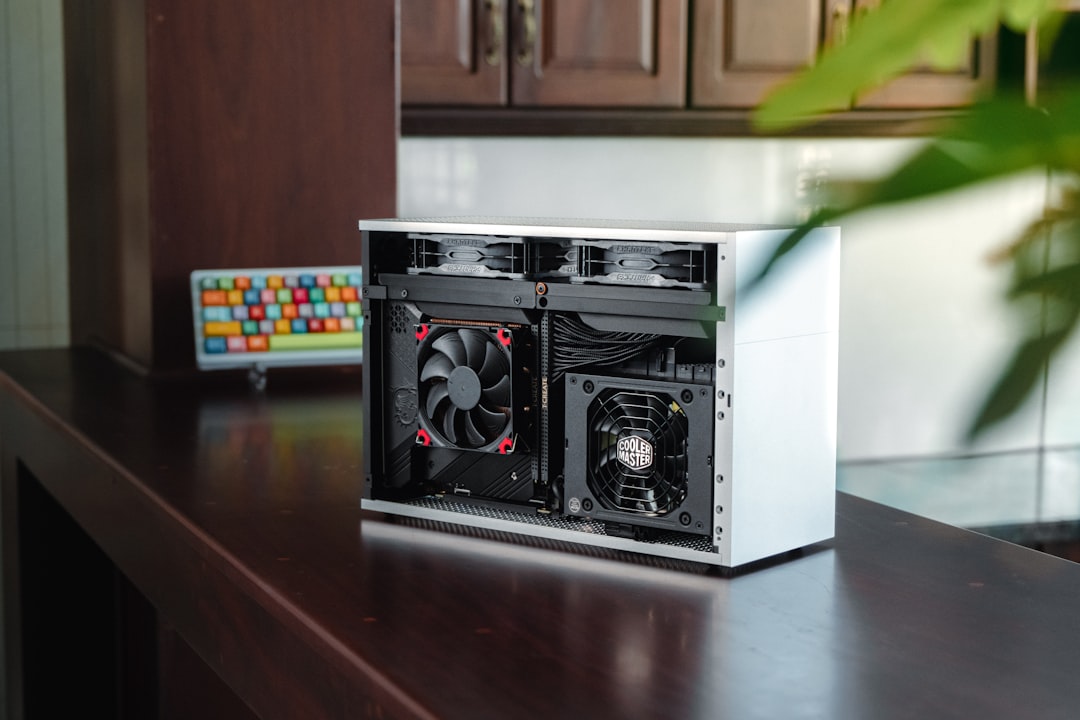
After testing several platforms, I landed on a mini PC built around an Intel N305 processor as the sweet spot for this kind of build. The N305 is an 8-core chip with a 15-watt TDP, which means it runs cool enough for passive or near-silent cooling. You can find bare-bones N305 systems from brands like Beelink, GMKtec, and Minisforum for around $200. I went with a model that included a fan, but the fan rarely spins above a whisper even under sustained load.
Why not a Mac Mini? Fair question. Apple’s unified memory architecture is genuinely excellent for AI workloads — I covered that in my MacBook Air M5 review. But for a headless always-on server, the Mac Mini starts at $600 and you’re paying for a GPU and display outputs you’ll never use. A $200 N305 box with upgrades gets you 90% of the utility for a third of the price. For most people building their first AI appliance, that math works.
AMD’s Ryzen AI mini PCs are another option worth watching. The new Hawk Point chips include dedicated NPUs that can handle lighter inference tasks while leaving the main cores free. They’re pricier — usually $400-500 bare-bones — but the performance headroom is substantial. I’m testing one now and will report back in a future piece.
If you want specific model recommendations, I’d start by browsing Intel N305 mini PCs on Amazon and looking for models with dual NVMe slots and at least one 2.5GbE port. Those two features matter more than you’d think for a server that handles model files in the multi-gigabyte range.
Memory: The One Place to Splurge
Here’s the thing most guides get wrong: for local AI, RAM is your most important spec. Not the CPU. Not the GPU. The model needs to live somewhere, and if it doesn’t fit in memory, performance falls off a cliff because you’re swapping to disk. I upgraded my N305 box to 32 GB of DDR5 — the maximum it supports — and that lets me run 7B to 14B parameter models comfortably with room for the operating system and caching.
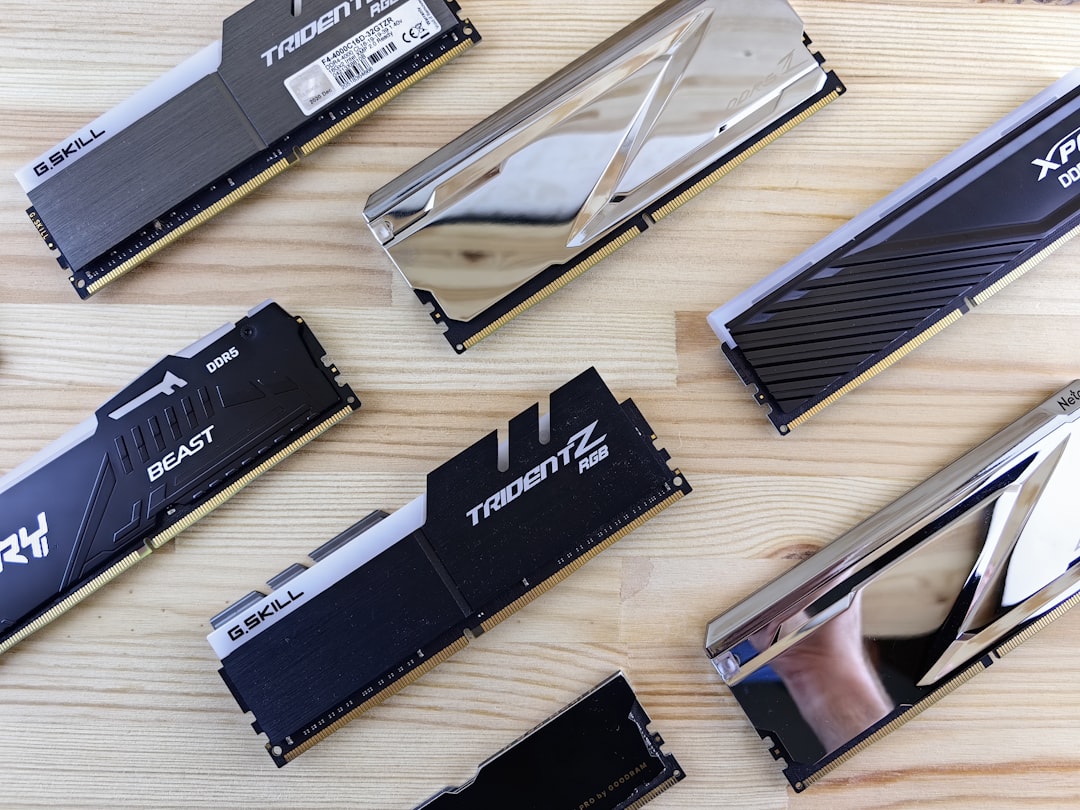
DDR5 prices have come down significantly in 2026. A quality 32 GB kit from Crucial, Kingston, or Corsair runs about $60-80. Don’t cheap out here. Buy name-brand memory with a lifetime warranty — you’re running this machine 24/7, and a stick that goes bad three months in means downtime and potential data corruption. I’ve had good luck with Crucial DDR5 32GB kits specifically.
If your budget allows, look for 64 GB support. Some N305 and Ryzen mini PCs can address 64 GB, and that opens the door to running 30B+ class models entirely in memory. The difference between a 7B model and a 30B model is like the difference between a helpful intern and a seasoned colleague — both useful, but you’ll reach for the senior one more often.
Storage: Speed Matters More Than Size
AI model files are large (typically 4-15 GB each for quantized versions) and they need to load into RAM quickly at startup. A fast NVMe drive makes the difference between a 10-second boot sequence and a 90-second slog. I installed a 2 TB NVMe drive as the primary and keep a secondary 1 TB drive for backups and less frequently used models.
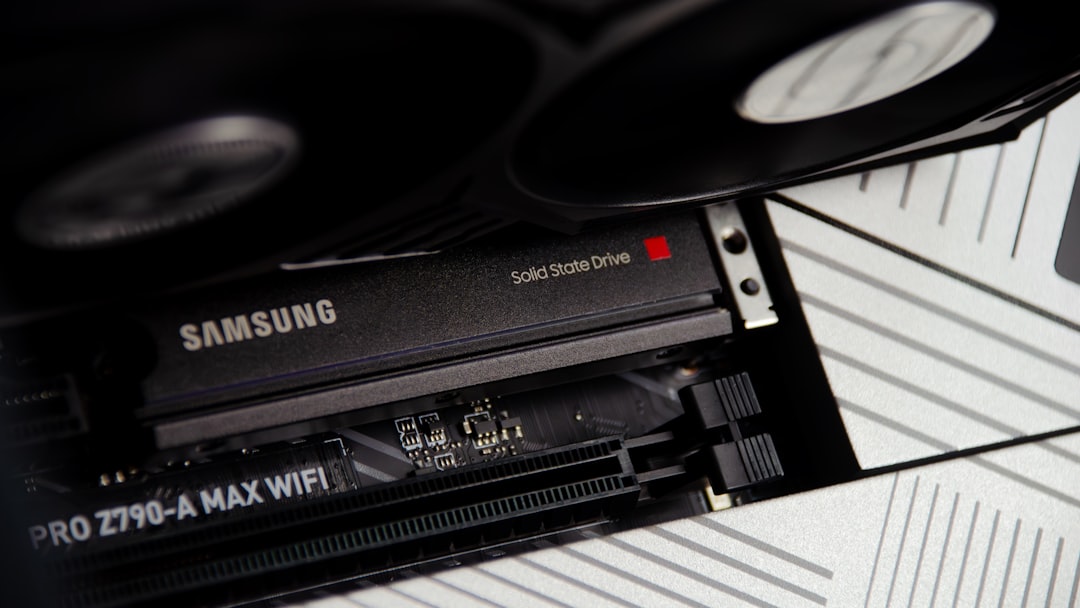
Look for PCIe 4.0 drives with DRAM caches — the Samsung 990 Pro, WD Black SN850X, and Crucial T500 are all solid choices. You don’t need the absolute fastest drive on the market, but avoid budget QLC drives that slow to a crawl under sustained writes. When you’re downloading and swapping models regularly, a quality NVMe drive saves real time. Check current pricing on 2TB NVMe SSDs on Amazon — prices fluctuate but you should find something good under $120.
When You Need More Muscle: Adding a GPU
The CPU-only approach works beautifully for models up to about 14B parameters. Beyond that, inference speed drops noticeably and you start wishing for GPU acceleration. This is where the build can scale based on your ambition and budget.
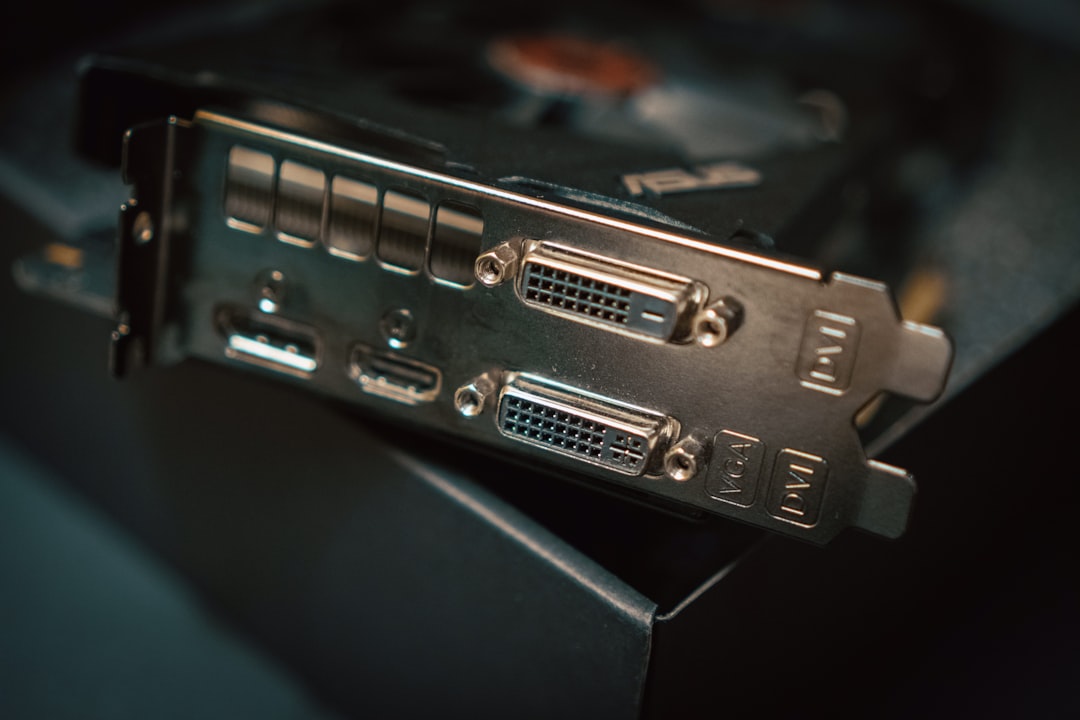
I covered the external GPU landscape in detail in my recent hardware roundup, but here’s the short version: for an AI appliance, the NVIDIA RTX 3060 12 GB remains the value king. It’s been on the market long enough that used prices are excellent (under $200), the 12 GB VRAM pool is genuinely useful for 30B-class models, and CUDA support means everything just works. No driver headaches, no ROCm compatibility dance.
If you’re buying new, the RTX 4060 Ti 16 GB is worth the premium for the extra VRAM alone. Sixteen gigabytes of video memory means you can run models that would otherwise require a 64 GB RAM system — and run them faster. You can find RTX 4060 Ti 16GB cards on Amazon at competitive prices, and the ROI in inference speed is immediate.
The catch with adding a GPU to a mini PC is the physical form factor. Most mini PCs don’t have a PCIe slot, so you’ll need an OCuLink or M.2-to-PCIe adapter. Some newer mini PCs from Minisforum and GMKtec include OCuLink connectors specifically for this purpose. If you’re planning to add a GPU later, factor that into your initial hardware choice. Alternatively, check out external GPU enclosures on Amazon if your machine supports Thunderbolt or USB4.
Networking: The Unsung Hero
Your AI appliance is only as useful as your ability to reach it. I hardwired my box to a 2.5GbE switch and gave it a static IP address on my local network. This ensures fast file transfers when I’m moving model files around and rock-solid latency when I’m hitting the inference API from other devices.

Wi-Fi works in a pinch, but I’ve seen latency spikes and dropped connections that break long-running inference tasks. A $30 Ethernet switch and a $10 cable eliminate an entire class of frustrating problems. If you’re building a home AI server, treat wired networking as non-negotiable. Good 2.5GbE switches are inexpensive and future-proof your setup for years.
Software Setup: Easier Than You Think
I run Ubuntu Server 24.04 LTS on my AI appliance — headless, no desktop environment, just SSH access. The entire software stack is surprisingly simple:
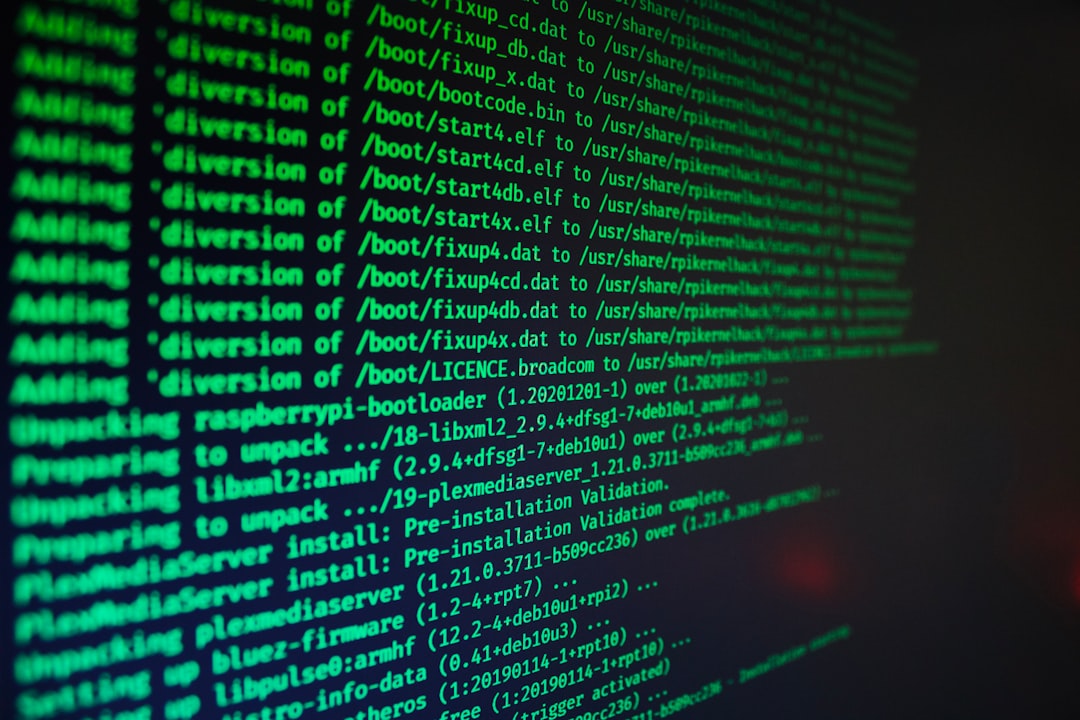
Ollama handles model serving with a single command. Installing a new model is literally ollama pull llama3 and you’re running. It manages quantization, memory allocation, and API endpoints automatically. For someone who remembers manually compiling llama.cpp with custom flags, Ollama feels like magic.
Open WebUI gives me a ChatGPT-like interface running entirely locally. It connects to Ollama’s API and provides conversation history, model selection, document uploads, and even RAG (retrieval-augmented generation) over my personal files. I access it from any browser on my network.
Caddy acts as a reverse proxy with automatic HTTPS. This lets me assign a friendly domain name to the server (like ai.local) and access it securely from any device on my network without certificate warnings.
The whole stack — Ubuntu, Ollama, Open WebUI, Caddy — can be configured in under an hour with Docker Compose. I wrote the configuration once and now rebuilding the server from scratch takes about twenty minutes. If you want a reliable USB flash drive for the initial Ubuntu install, any name-brand 16 GB or larger drive works fine.
Cooling and Noise: Silent Operation
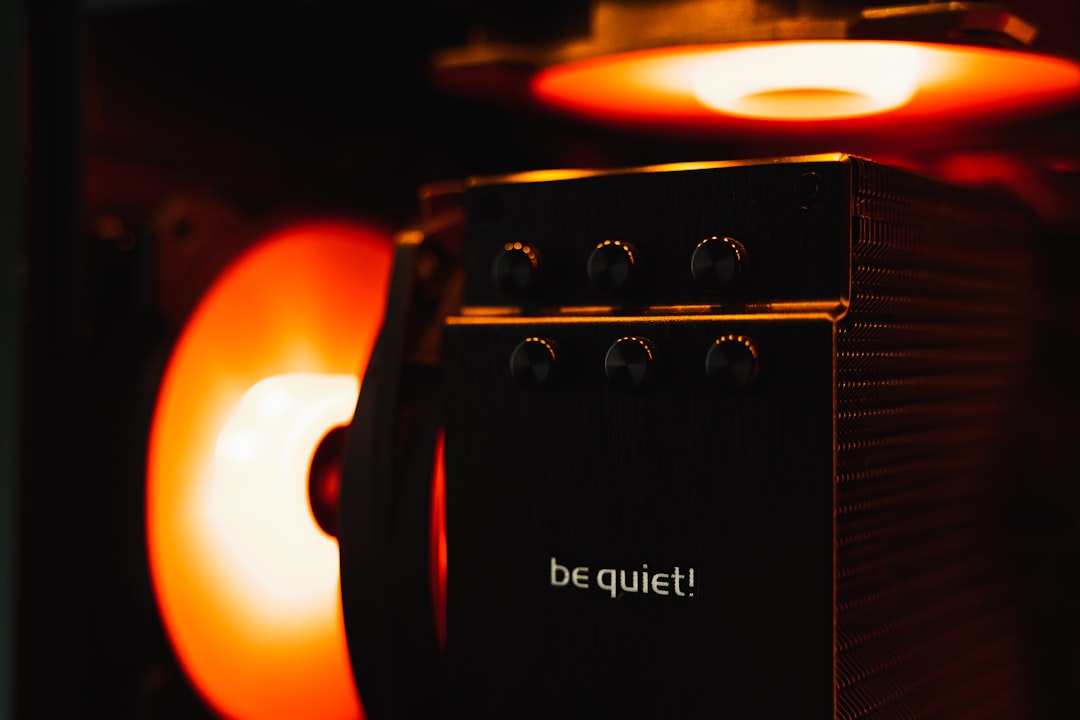
One of my requirements for this build was silence. The machine lives in my home office, and I’m not interested in listening to fan noise while I work or sleep. The N305’s 15-watt TDP makes this achievable — at idle, the CPU sits around 35°C and the fan doesn’t even spin. Under sustained inference load, it creeps up to about 65°C with the fan at its lowest audible setting.
If you want truly fanless operation, look for passively cooled N305 or N100 mini PCs with finned aluminum cases. Brands like OnLogic and Akasa make industrial-grade fanless systems, though they cost more. For my money, a standard mini PC with a quality fan that stays quiet is the better value. You can browse fanless mini PCs on Amazon to compare options if silence is non-negotiable.
What I Actually Use It For
The theory is nice, but here’s what the machine does in practice, every single day:
Document processing: I feed PDFs, articles, and research papers through a local model and get summaries, key points, and action items in seconds. No data leaves my network. This alone has replaced about $30/month in cloud API costs.
Code assistance: I use the local model as a coding companion through a VS Code extension that hits the Ollama API. It’s not as capable as the latest GPT-4-class cloud models, but for routine refactoring, documentation generation, and debugging, it’s more than adequate — and infinitely faster than waiting for a cloud API round-trip.
Writing and brainstorming: I’ve written entire outlines, email drafts, and content plans using the local model. The responses feel more “mine” somehow — probably because I’ve fine-tuned the system prompt to match my writing style and preferences.
Home automation intelligence: My Home Assistant instance can call the local AI server for natural language processing of voice commands and contextual automation decisions. Instead of brittle rule-based triggers, I have an AI that understands “make the living room cozy” means dim lights, warm color temperature, and soft music. If you’re building out your smart home setup, a local AI server is a serious upgrade.
My Honest Cost Breakdown
Here’s what I actually spent on this build, not theoretical pricing:
- Intel N305 mini PC (bare-bones): $189
- 32 GB DDR5 RAM kit: $68
- 2 TB NVMe SSD (PCIe 4.0): $109
- 1 TB NVMe SSD (secondary): $59
- 2.5GbE Ethernet switch: $32
- USB flash drive (for OS install): $8
Total: $465 — and that’s with quality components, not bargain-bin substitutions. Compare that to a single year of ChatGPT Plus at $240, or API costs that easily exceed $50/month for regular use. The machine pays for itself in under a year while giving you something no subscription can: complete ownership and control.
If you want to add GPU acceleration later, budget another $200-350 for a used RTX 3060 12 GB or new RTX 4060 Ti 16 GB, plus $50-80 for an adapter or enclosure. Even at $800 all-in, you’re building a machine that would have cost thousands just two years ago.
Is This Build Right for You?
Let me be direct about who should and shouldn’t build this. If you’re comfortable with basic Linux commands and enjoy tinkering with technology, this is a weekend project that pays dividends for years. If the thought of SSH-ing into a machine makes you nervous, you might want to start with something simpler — or check out my home office guide for more approachable tech upgrades first.
The beauty of this approach is its scalability. Start with the $200 mini PC and see how far CPU-only inference takes you. If you outgrow it — and you might not — adding a GPU is a straightforward upgrade. The software stack is the same either way; Ollama automatically detects and uses available GPU resources.
What I can tell you with certainty is that having a personal AI appliance has changed my relationship with artificial intelligence from “I use a cloud service” to “I have an AI that lives in my house.” It’s always there, it’s always private, and it costs nothing per query. After twenty-five years of testing technology, that’s the kind of shift that gets me genuinely excited. This isn’t a gadget that gathers dust — it’s infrastructure that earns its place on the shelf every single day.
One thought on “The Always-On AI Appliance: How I Built a Silent Home Intelligence Machine for Under $500”